
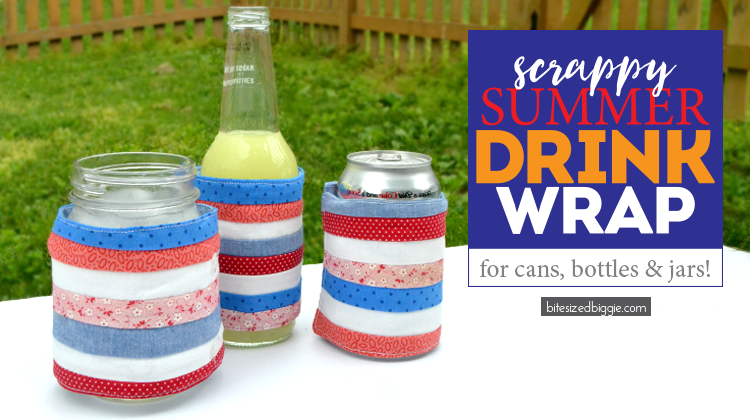
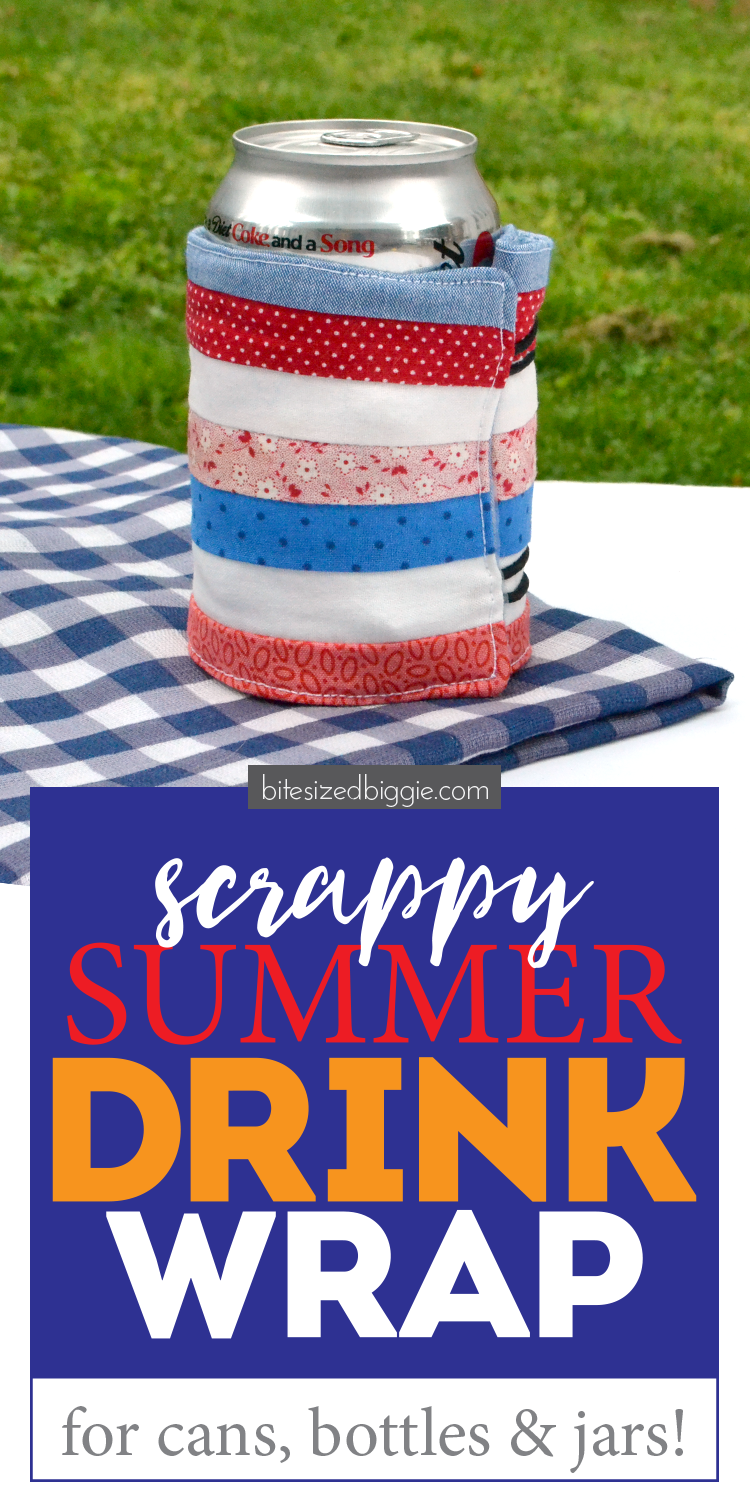
 Hosting a summer party? A koozie can decorate your guests’ glasses AND keep them insulated. Use scraps to make these fit the theme of your party. We recommend red, white and blue scraps for all of those patriotic holidays. The BEST part of this drink wrap is that it fits a wide range of sized beverages (cans, glass bottles, mason jars) because it’s adjustable. We’ve got you COVERED!
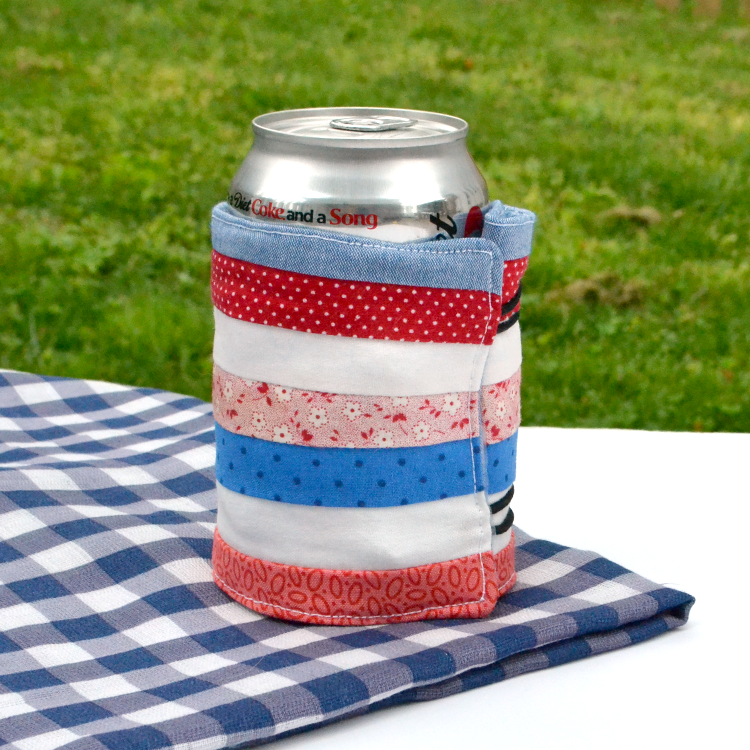
Materials:
- Outer fabric 11″ x 4″
- Lining material 11″ x 4″
- Insulation material 11″ x 4″
- 4 Buttons
- 2 Elastic Bands (at least 3.5″ circumference)
- Tape
- Coordinating thread
- Sewing supplies
- Glue gun
Instructions:
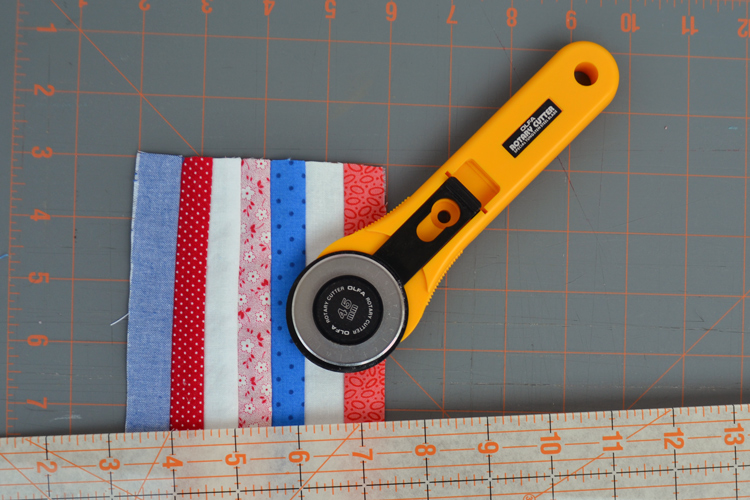
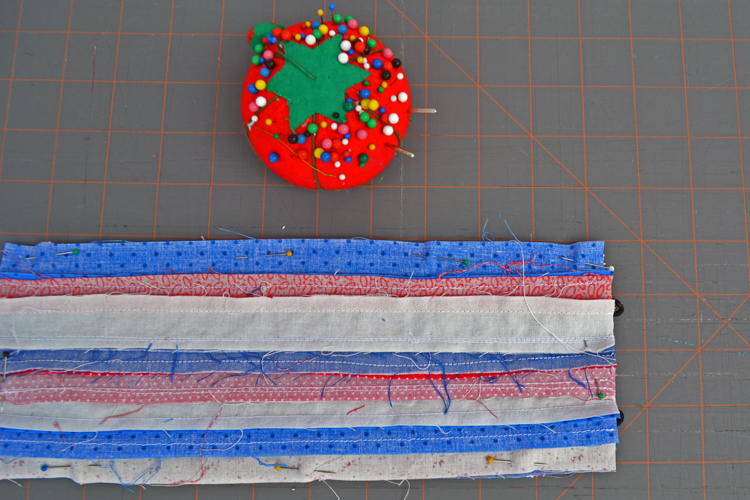
- Get creative with your shell! Sew scraps together to measure 11″ x 4″. I’ve used seven strips of fabric cut 1″ wide x 11″ long sewn with a 1/4″ seam allowance.
- Cut your insulation material so it measures 11″ x 4″. You can use any type of insulating material like terry cloth, cotton batting, polyester batting, or thermal batting.
- Cut your lining fabric so it measures 11″ x 4″.
- Make a sandwich with your three layers. First lay your insulation, then you will lay your lining fabric (right side up).
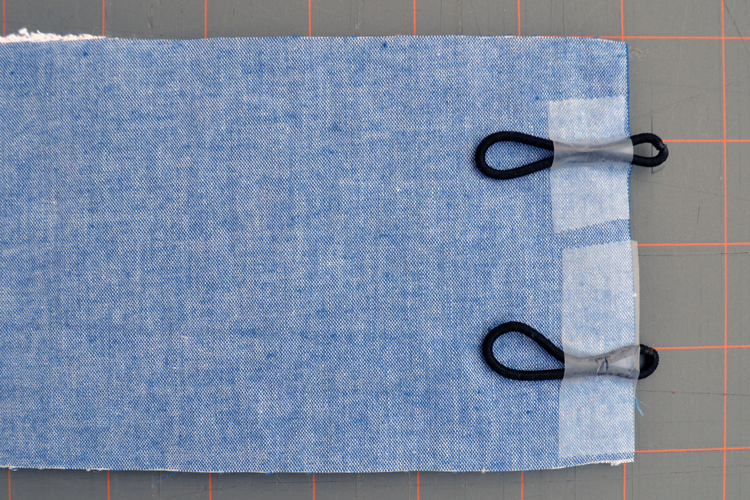
- Take your two elastic hair bands and tape them to your sandwich as seen below. Place each 1″ from the edge. Pinch the ends together and let them stick out by 1.5″. It is okay if you have larger hair bands but make sure only 1.5″ points towards your fabric. Tape both hair bands down to the lining fabric so they stay in place while sewing.
- Complete your fabric sandwich by placing the outer fabric (right side down) so it faces the right side of the lining fabric.
- Pin your edges and sew a seam with 1/4″ around. Leave a 2″ opening so you have space to turn it right side out. Cut the corners.
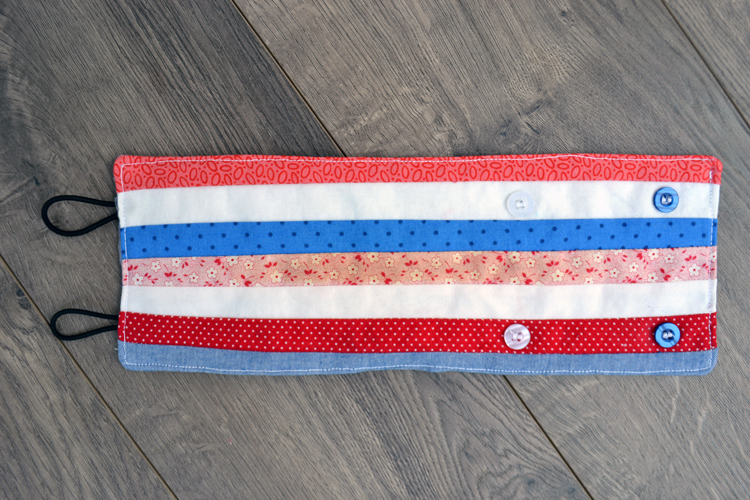
- Turn it right side out and press. Top-stitch 1/4″ from the edge.
- Use a pencil to mark where each button will be installed. Along the edge of the koozie on the opposite side of the hair ties, mark the first set of buttons 3/4″ from the top and 3/4″ from the bottom and both 1″ from the edge. For the second set of buttons, mark 3/4″ from the top and 3/4″ from the bottom and both 3.5″ from the edge.
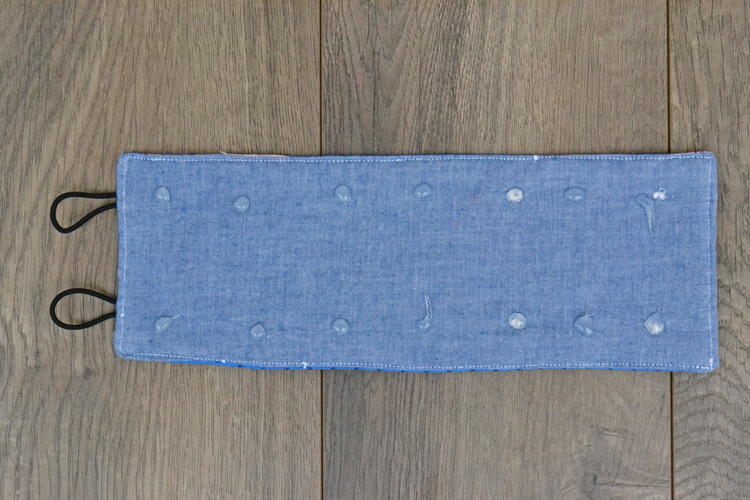
- Use your glue gun to add dots or a design to the lining side of your koozie – helps it grip the can, bottle or jar!
And you’re finished and ready to wrap up your favorite cold beverage! Pin this post to save it for later, and hop over to see the rest of the Summer Sewing Series from Polka Dot Chair! 

2 Comments
Leave a Reply