You might know by now that I LOVE sewing for babies. There are so many sweet projects to make for little ones, that I can’t help myself. I’ve made the BEST burp cloths, pacifier clips and toy keepers (go ahead and check them out too!). However, what you may not know is that my own little baby came along last year! Our family was blessed with a son by way of adoption.
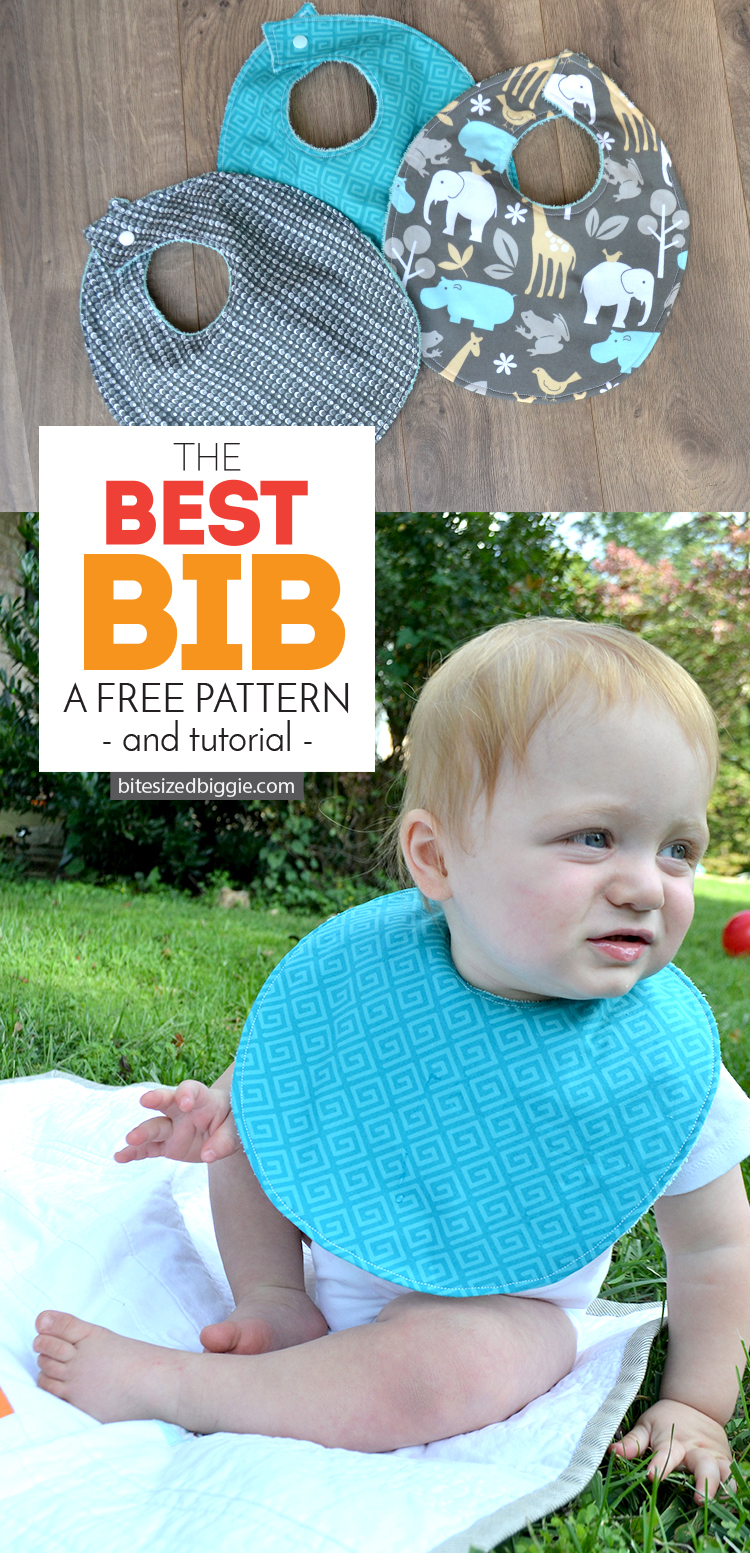
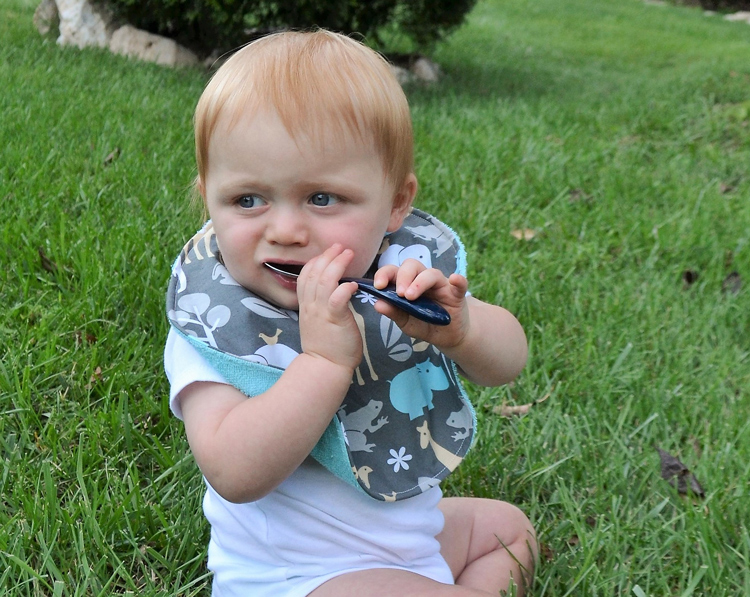
Although we waited a very LONG time for our baby, we only learned of his arrival one month before he was born. Sewing for my cutie is constantly on my mind but I just can’t find the time. I suppose infants have a way of keeping parents busy. However, I am now in desperate need of bibs, so I’m off to make him some adorable bibs. These are generously sized and perfect for my 14 month old. They are my go-to project for baby gifts since parents can never have too many! Go ahead and whip several up for your favorite baby today.
Materials
- 1/4 yard pre-washed cotton fabric
- 1/4 yard pre-washed terry cloth fabric
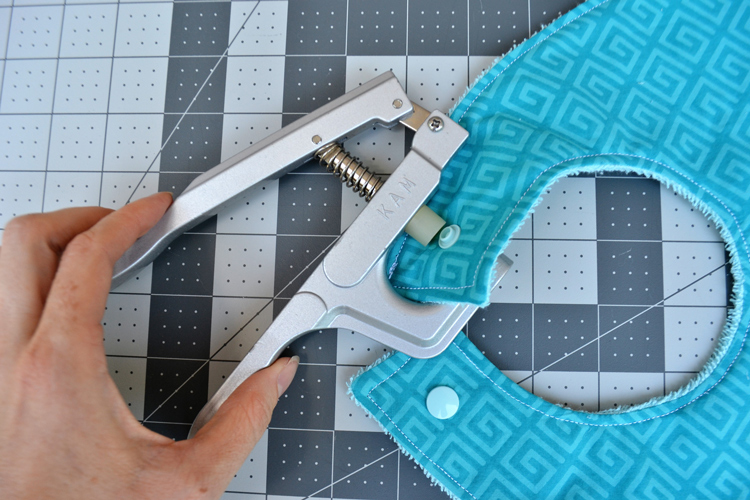
- Plastic snaps and KAM pliers (affiliate link)
- Coordinating thread
- Tailor’s chalk (affiliate link)
- Two 2″ x 2.5″ pieces of Heat’n Bond Fusible Interfacing (affiliate link)
- Free Bib Pattern
Instructions
- Download and print the Free Bib Pattern.
- Tape the two pages together and cut out the pattern.
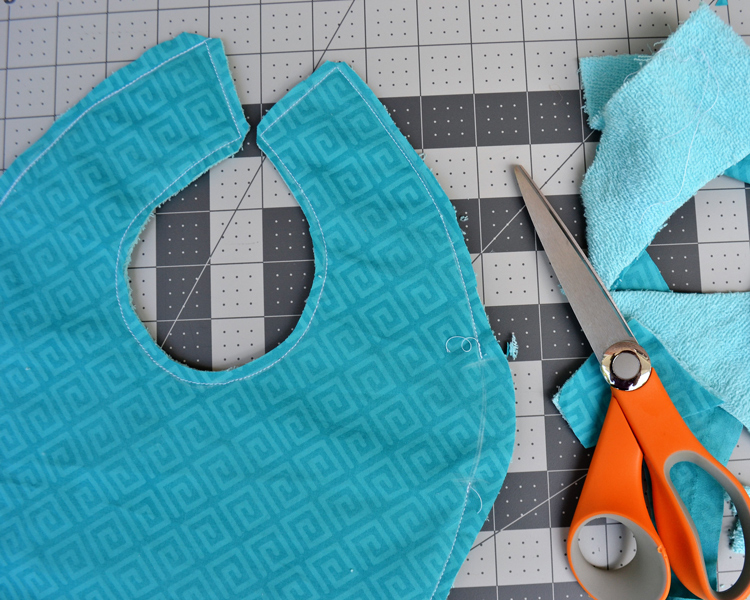
- Trace the pattern on the back side of your cotton fabric using tailors chalk. Make sure to mark the section of your fabric that you will not stitch. This section isn’t sewn together, so you can turn the two pieces right side out.

- Sew your two pieces together starting at point A and around the bib. Finish at point B so you have a section that remains open.
- Trim your fabric so it has about 1/4″ seam allowance, but, along the section of your non-sewn edge (the opening you use for turning right-side out, trim to 1/2″(see picture below). This will ensure that your top stich will close that opening once it is turned right-side out.
- Cut out squares of fusible interfacing that measure 2″ x 3″. Iron them on the ends of the bibs to reinforce where the snaps will attach.

- Turn the bib right side out, then iron the bib flat.
- Top stitch the bib with 1/4″ seam allowance.
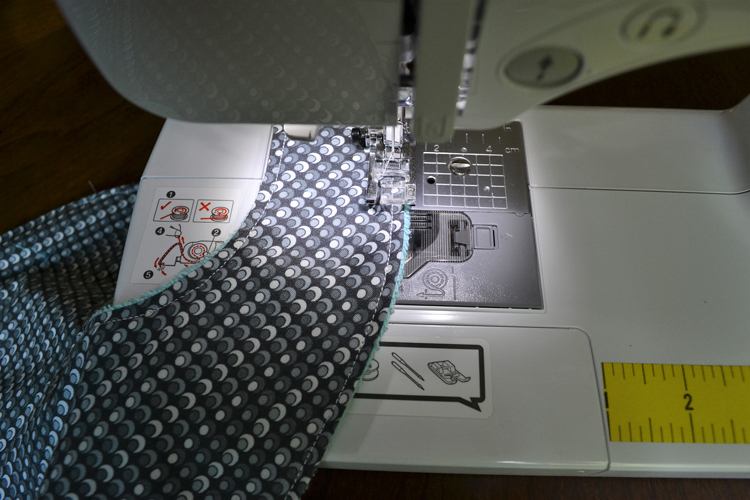
- Install your snaps at the top of the bib. Place them in the center and about 1″ to the end of the neck straps. You can certainly use metal snaps, but I prefer frustration-free plastic KAM snaps. Check out the tutorial here for installation instructions.
I’m so in love with these bibs that I think almost every friend who had a baby within the past 3 years received several. They hold up well in the wash and many told me they were a favorite in their home. Sew up a few today or pin/save this post when you’re in need of an adorable baby gift!