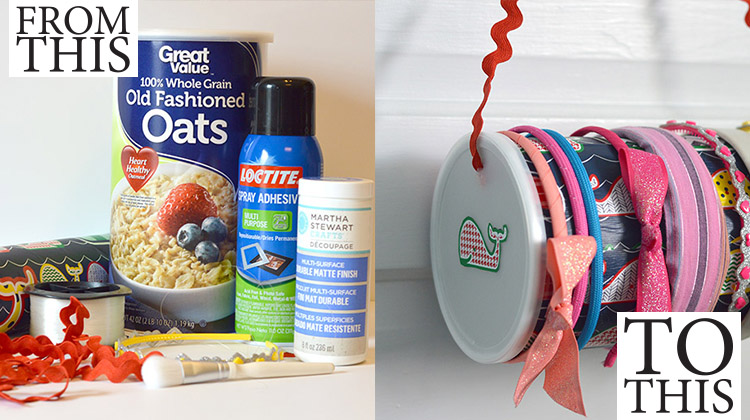
With 3 little girls in my house, I have quite the number of headbands lying around. Our previous solution was to shove them all in the drawer of my vanity. Unfortunately, that solution led to several broken headbands and frequently a jammed drawer. Then a friend shared her solution and it was so simple! An oatmeal container! She just set hers on her counter and put the headbands on it. Very functional. At my house one more thing on my vanity might make me scream, so, with just a few supplies that I had lying around, I was able to create a great hanging headband holder to solve all of our headband problems!
Materials
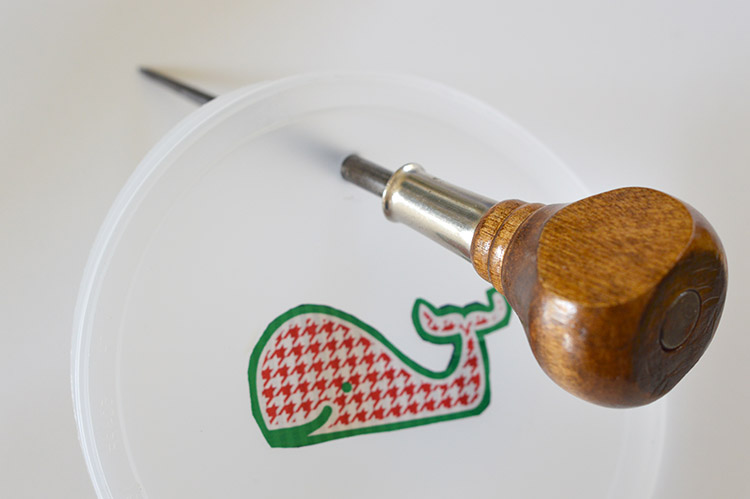
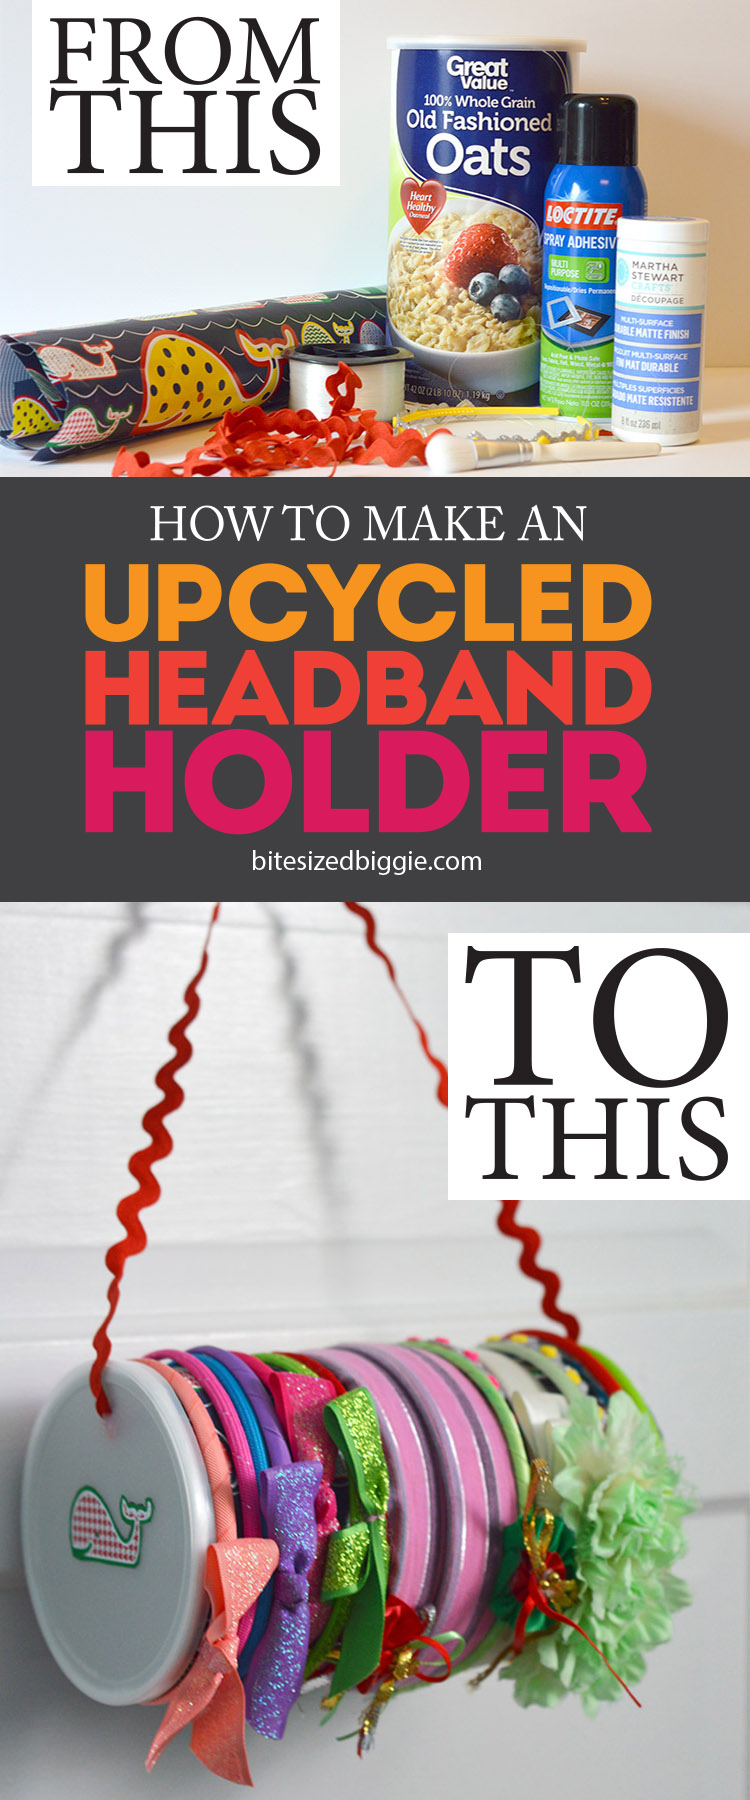
- 1 Large Oatmeal Container and Lid
- Enough wrapping paper or fabric to cover the canister.
- Decoupage & brush (affiliate)
- Spray adhesive (optional)
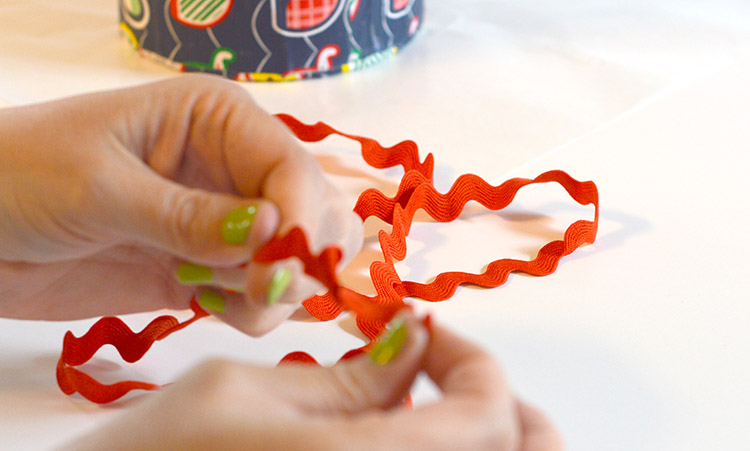
- Ric Rac, Ribbon or Yarn
- Fishing line (optional)
- Headbands, headbands and more headbands!

Step 1
Measure and cut your wrapping paper (or fabric) so it wraps around the oatmeal canister. Also cut a circle of material that fits the bottom of the canister (with a bit of an overlap)
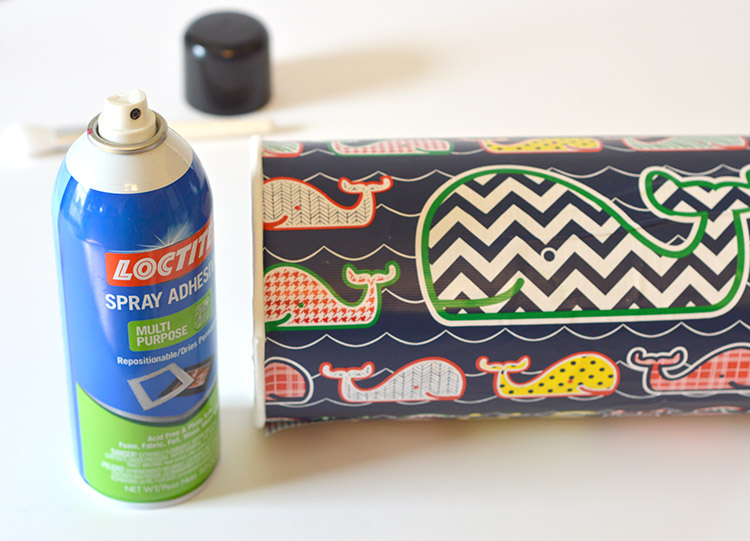
Step 2
Using spray adhesive or decoupage, adhere your paper/fabric around the canister and the circle to the bottom.
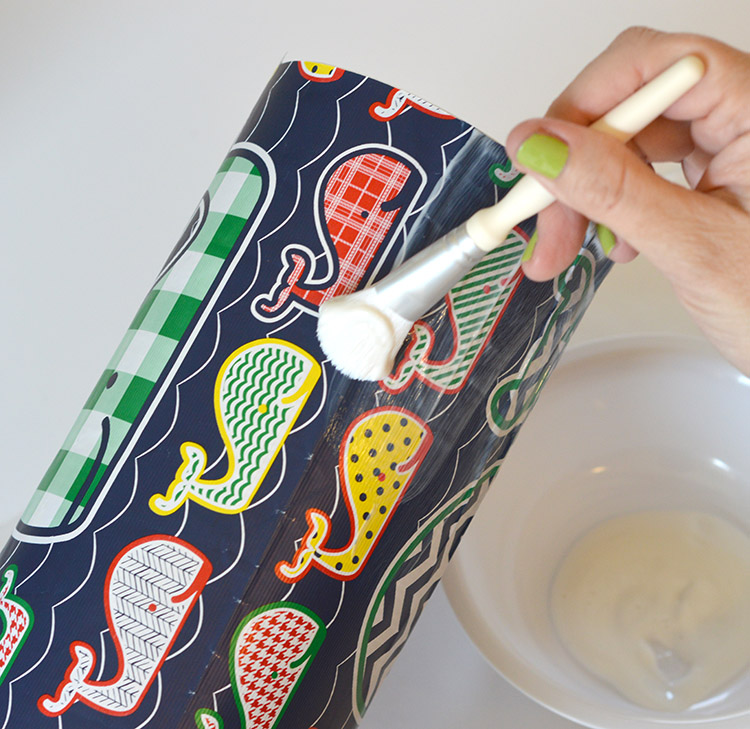
Step 3
After allowing material to dry on the canister for a bit, begin painting coats of decoupage. If you’re using paper, make sure not to use thick coats or your paper will rip. Apply 2-3 coats, allowing decoupage to dry between coats. Using fabric will make this process longer.
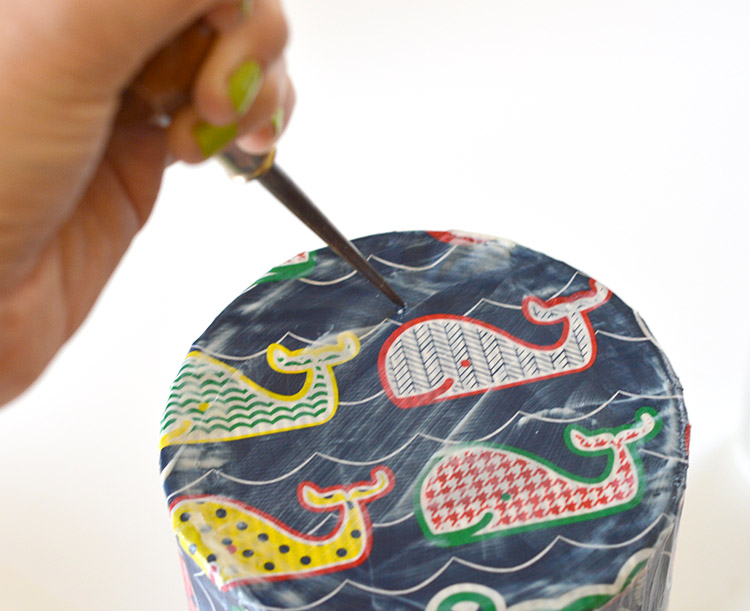
Step 4
After the decoupage is dry, use a hole punch to punch 2 holes – one in the lid and one in the bottom of the canister. (The size of your hole should depend on what you intend to use to hang the holder – I chose ric rac, but the fishing line would have been a less visible option.)
Step 5
Cut your rick rack (or string) to the desired length for hanging your holder. Thread through the holes you punched in Step 4 and knot the ends.
Step 6
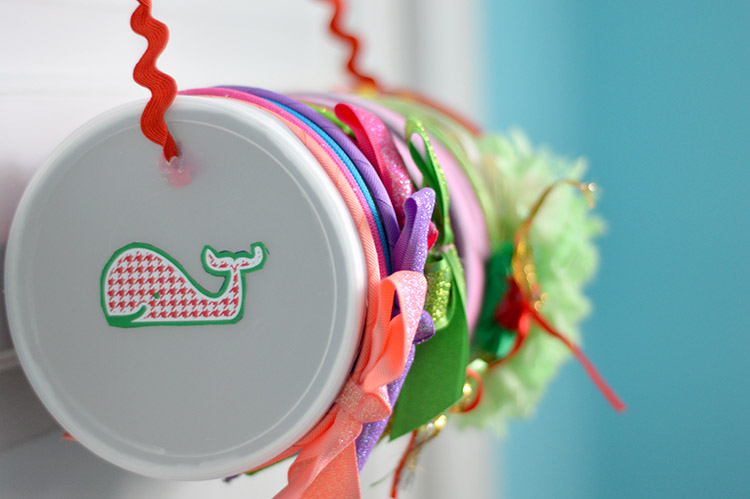
Place the lid on your canister, hang your headband holder and add headbands. Hang on a simple push pin or hook. Easy peasy!
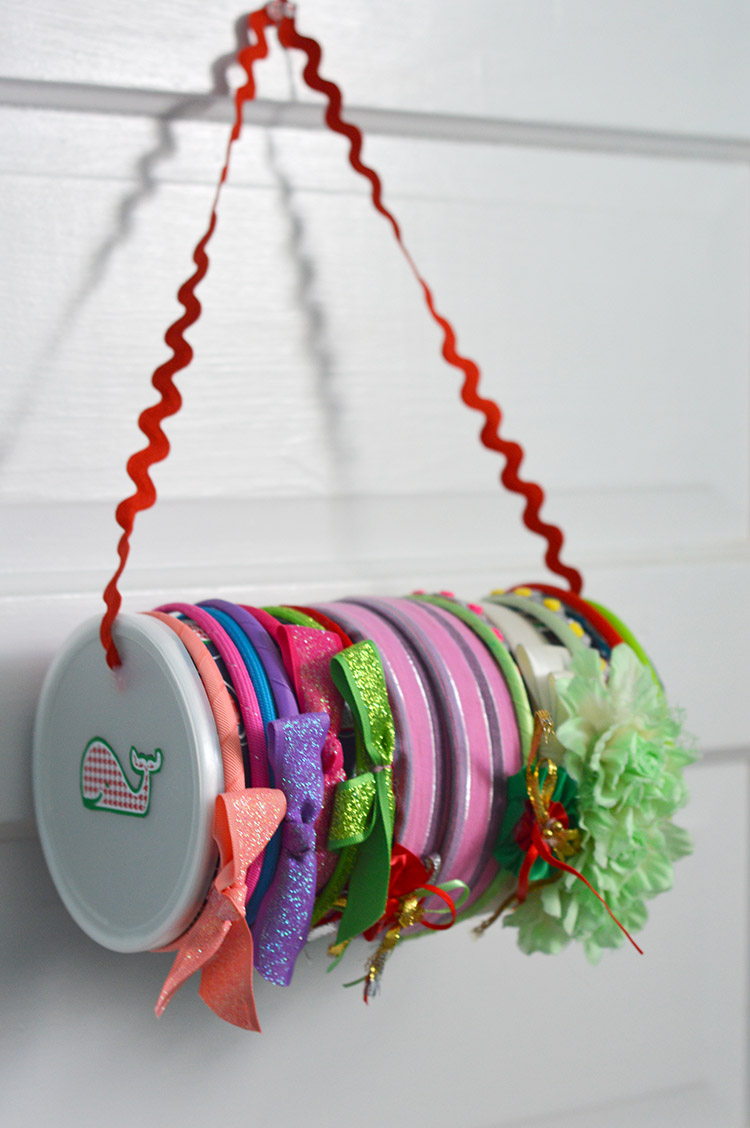
This project was SO SIMPLE to make and it really has come in handy! As an added bonus, the canister also provides storage for extra ribbons/clips/hair accessories if you simply open the lid! This was a super inexpensive item to make and that was great for me because my girls will outgrow this solution quickly and it didn’t make sense to me to pour lots of resources into it. Pin this project and make one yourself! Or share with a friend!
Want some other organization tips? Try these!