
Have you ever experienced euphoria while using a craft supply or gadget for the first time? Lots of valuable techniques and skills require practice and patience. With each attempt you learn and come closer to mastering your new gadget. But some products just blow your mind the first time you use it and and you realize, THIS is so much easier than my old approach. That euphoria TOOK OVER when I tried KAM Snap Press Pliers (affiliate). I couldn’t wait to share!
To say that I was frustrated using metal snaps is an understatement. I make baby bibs as gifts for new babies and over the past few years I’ve made several dozen. They that have thick terrycloth on one side and cotton on the other. I heard metal snaps were easy to apply with a hammer and plastic fastener, so I went about using two different styles of metal snaps and tools. I can’t tell you how many metal prongs were bent the wrong way and I had to pull a broken snap out of my precious bib, slightly damaging my creation. It’s likely metal snaps are be better suited for thinner fabrics, but those metal snaps caused me to…. well, SNAP.
I was not as thrilled with the look of plastic snaps, so I researched many metal alternatives. After realizing they were all well outside of my budget, I caved and purchased a KAM snap system along with plastic snaps. From the very first snap, I was in heaven. I can’t believe how EASY it is to operate and not once have I screwed up fastening a plastic snap. There are loads of cute items to make with plastic snaps, like my bib with a teal snap.

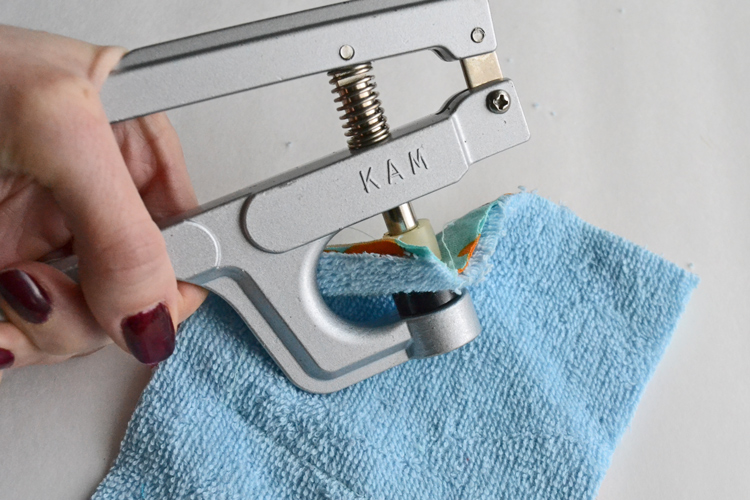
Installing plastic snaps with the KAM Press Pliers (affiliate) is a breeze. For this project, you’ll need the KAM Press Pliers, an awl (which is included in the pliers set, yay!), and the plastic snap pieces.
For each snap, you’ll need two caps, one socket and one stud.

Make sure your pliers match the size of the snaps you plan to fasten. I’m using size 20 snaps here.

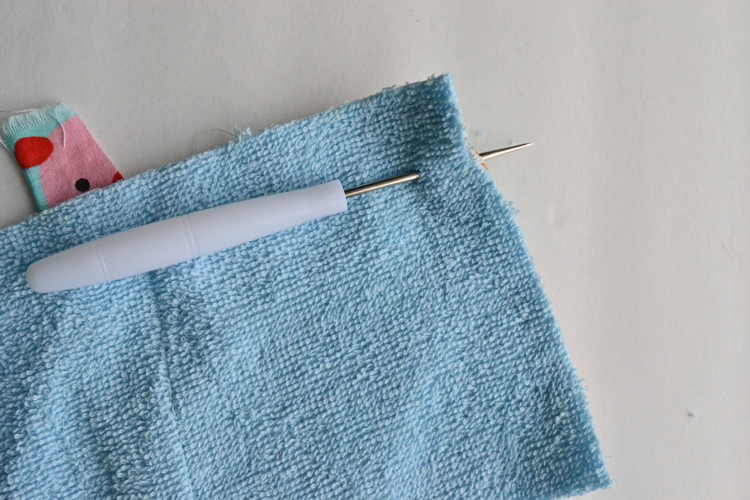
Choose your spot to install the snap and stick your awl into your fabric to create a small hole.
Insert one cap and one socket into the pliers and line up with the hole you made with your awl. Repeat this step with one cap and one stud where you plan to install the other side of your snap.
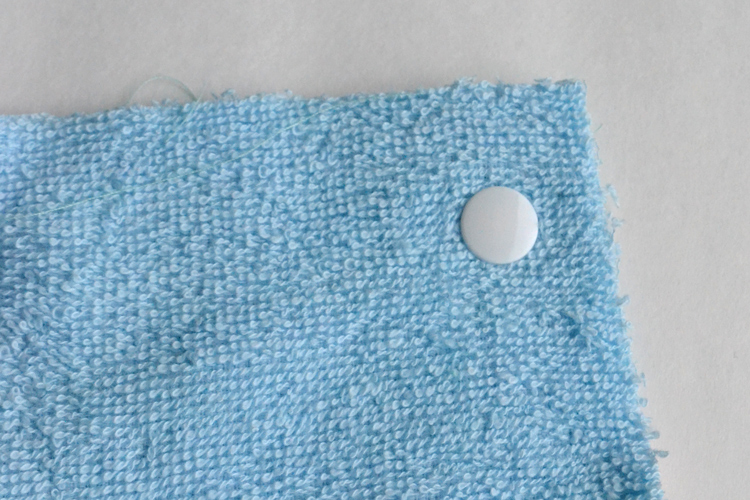
Once you have each side of your snap installed, test out your snap! If either side feels loose, simply set the one side of the snap in the pliers again and squeeze.
It’s so simple! I’ve never had a single problem with fastening a plastic snap with the KAM Press Pliers – a huuuuuuge change from my many frustrated attempts at using metal snaps.

Now that you’ve seen how easy this is, grab your own KAM Snap Press Pliers (affiliate) and check out this list of projects you can make with them!


2 Comments
Leave a ReplyOne Ping
Pingback:Tutorial: How to set plastic snaps – Sewing