
Do you ever look at a store-bought item and realize it would be the SIMPLEST to make? This toy keeper is one of THOSE gems. It tethers almost any baby toy to a stroller or car seat. When baby launches the toy or if it’s dropped, the item is not on the ground or lost. It is so versatile and can fit around just about anything because it has three snap lengths. Make this super simple toy keeper today in just minutes with a few snaps and fabric. It will SAVE a parent’s sanity!
Materials:
- 2″ X 17.5″ fabric
- Two complete plastic snaps (4 caps, 2 sockets and 2 studs) and one additional socket and cap. KAM plastic snaps (aff) size 20 used for this project.
- coordinating thread
- sewing supplies
Instructions:
- Measure and cut a piece of fabric 2″ X 17.5″.

- Fold your fabric in half (inside-out) and press with an iron, so it measures a 1″ wide strip.

- Sew along the raw edge with 1/4″ seam and sew one end closed.

- Turn your strip of fabric right-side out using a (affiliate) Loop Turner or a bamboo skewer and straw. Iron the strip of fabric again.
- Fold in the fabric on the end not sewn and sew shut with 1/4″ seam.
- Install the 2 stud snaps 1/2″ from the edge of each end. If you are new to plastic snaps, check out this post for tips.

- Install three sockets along the length of the fabric, in between the two studs. All of your caps should be one one side of the fabric and the sockets and studs will be on the opposite side.

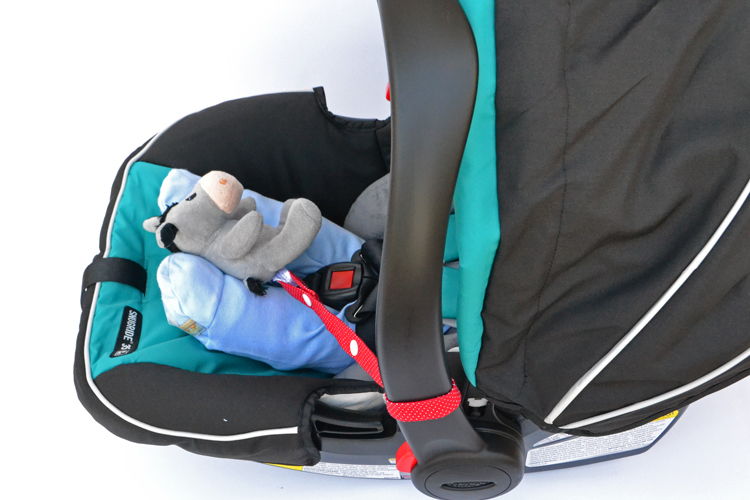
- Snap a favorite toy on one end and attach the other end to a stroller or car seat.
Whether you’re saving your own sanity or sharing the sanity-savings with others (it’s a great gift idea!) everyone appreciates not having to chase toys down on the ground or the floor!
Pin this post to save it for later!


2 Comments
Leave a Reply