This is a sponsored post written by me on behalf of Freedom Outdoor Living for IZEA. All opinions are 100% mine.
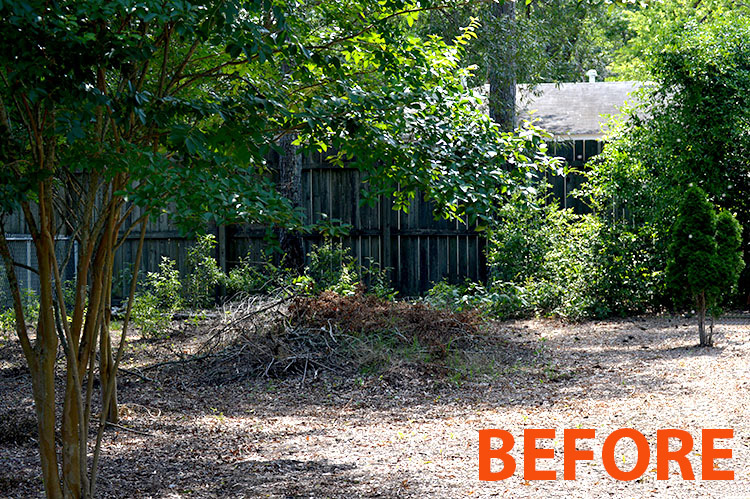
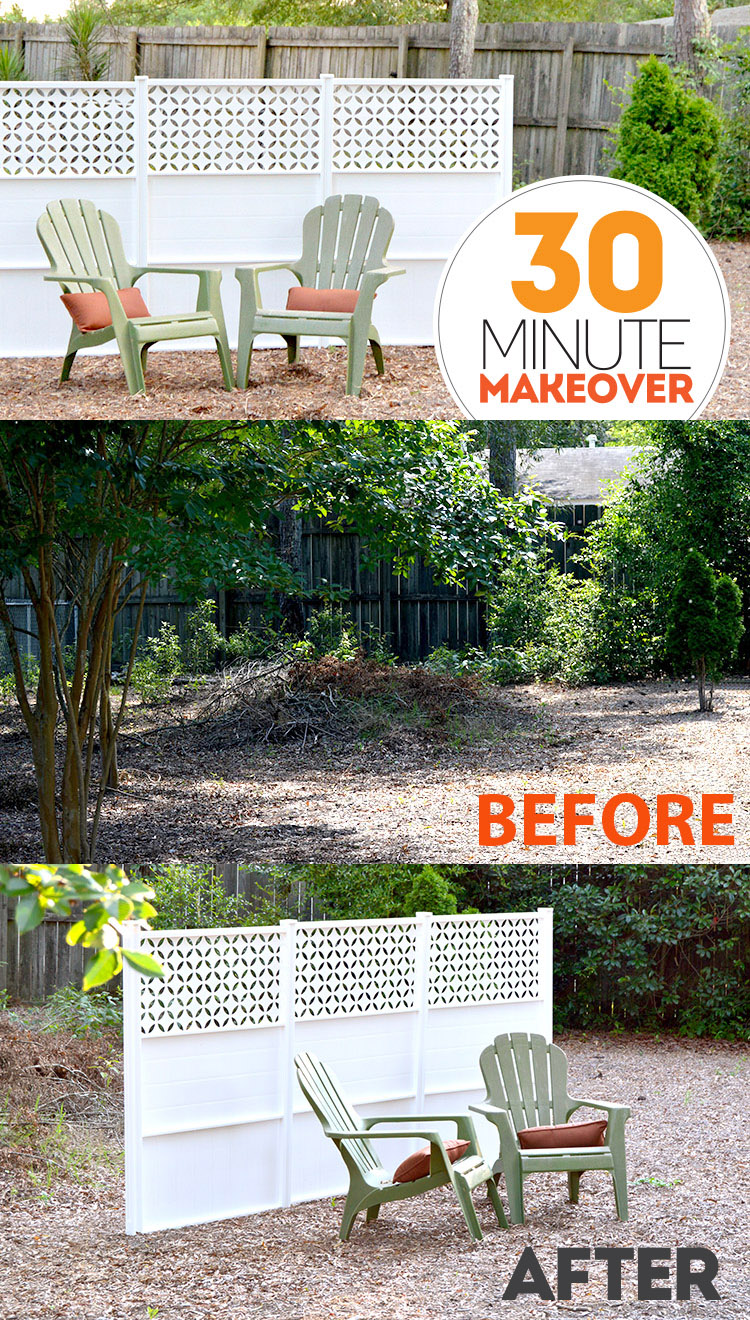
My backyard has been an ongoing project since we moved into our home 10 years ago. Work has been sporadic, to say the least, but we’ve ended up with a fairly nice place for our 4 kiddos to play. And a nice little place for us to relax. The area in the back corner of the yard has become our would-be compost pile – the place where we toss cut limbs and fallen branches. It’s a bit of an eye sore, but not a big enough deal to us to do anything about it that costs a ton of money and time. It was time for a BACKYARD MAKEOVER!
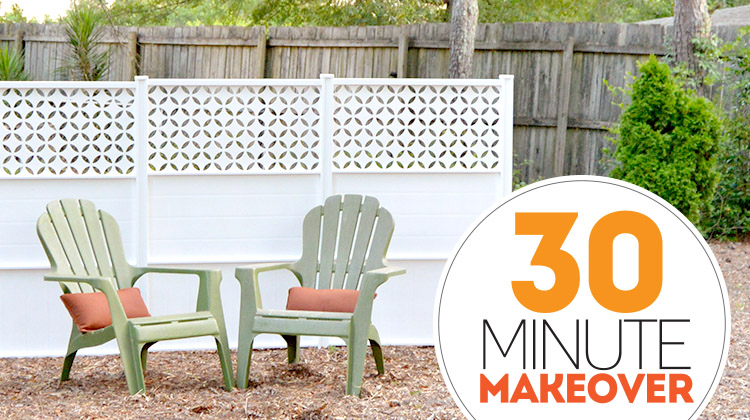
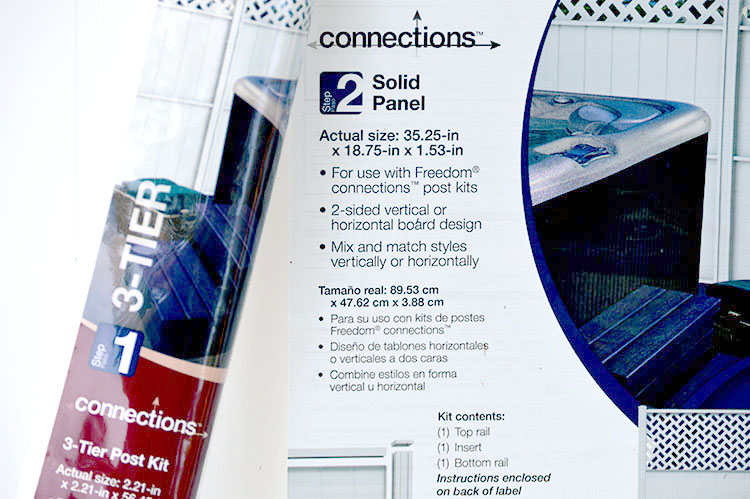
I was thrilled to learn about Connections™, a flexible, decorative fencing product available exclusively at Lowe’s. This panel fencing is perfect for creating privacy screens around your yard or patio. Also, as we found out, it is a great way to hide unsightly utilities, trash bins, brush piles and more. A big bonus for me is that there’s no digging required and the only tools needed are a hammer and tape measure – tools you should already have, but if you don’t, pick some up while you’re at Lowe’s. There are no brackets needed. No concrete footers. It truly is a snap to install.
Another great thing about Connections panels is that they’re super easy to reconfigure. If you put it together and realize it’s not exactly where you want it, it takes mere moments to relocate.
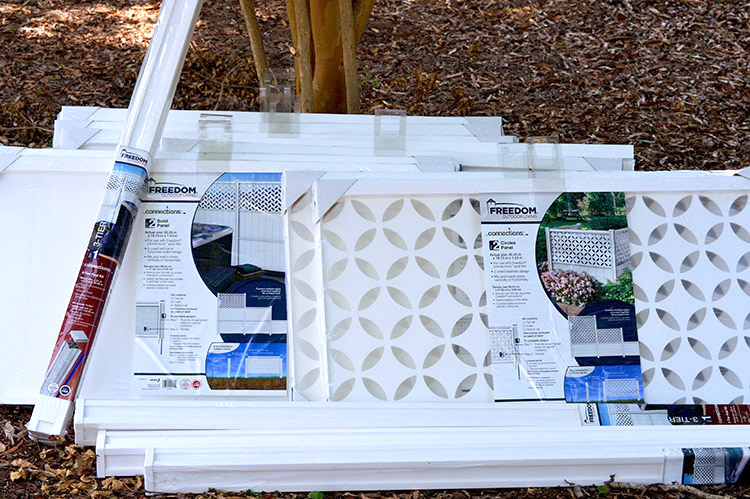
As I mentioned, assembly was a snap. My project used a 3 tier by 3 panel configuration – so 9 total panels, 6 solid and 3 patterned. I really liked the look of the Circles panels, so I chose to top my project off with them for a nice mix of texture. There’s also a Herringbone pattern and a Parquet pattern. The solid panels have a nice feature, too. One side of the panel resembles horizontal planks while the other side resembles vertical planks.
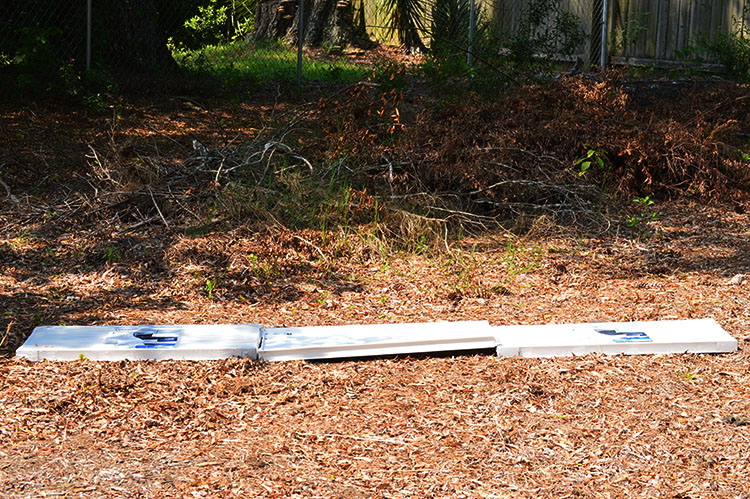
My first step was to finalize the position for my wall. I lay the panels on the ground flat first to get an idea of their coverage.
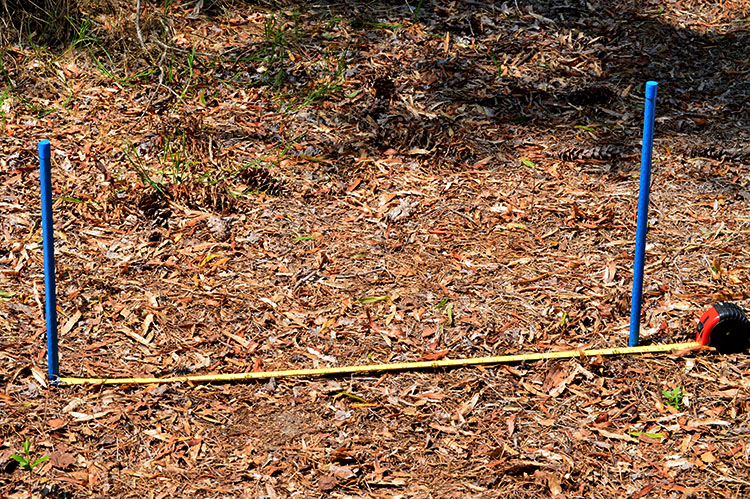
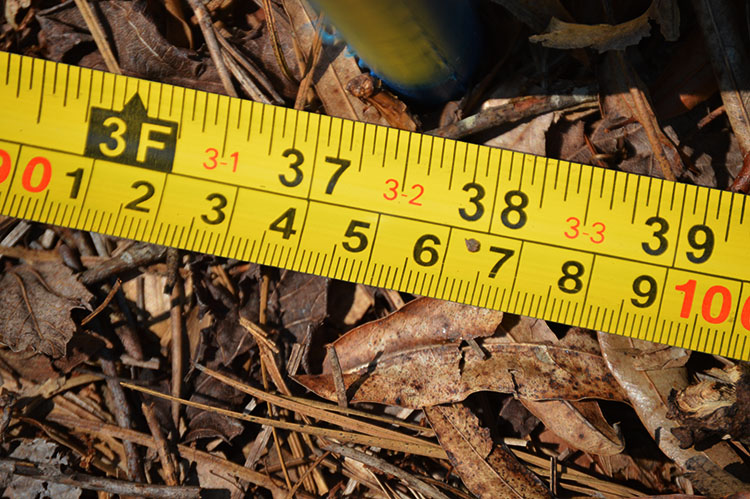
Once I was sure of the position, I began with the stakes for the middle posts and panels. Using a hammer, I drove the first stake halfway into the ground. I measured 37 ¼ inches and drove the 2nd stake in as well.
After sliding the spacers to the bottom of my posts (per manufacturer’s instructions), I slid the posts onto the stakes. With the solid panels, I removed the top rails and put them aside. I decided to vary the patterns by placing the first solid pattern with the vertical plank on the bottom and the horizontal plank above it. Both panels slid into the grooves with ease, snapping together with a small amount of pressure. To finish off the section, I slid the Circles Panel on top of the others, snapped it into place and it was done.
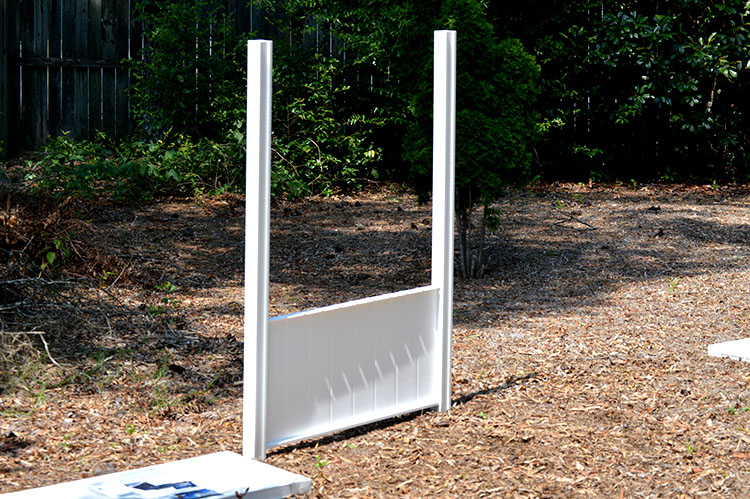
I moved on to drive the other 2 stakes in the ground – each 37 ¼ inch from the midpoint of the installed posts. Sliding the remaining posts onto the stakes and the panels into the slots, the entire project was finished!
Here’s the After:
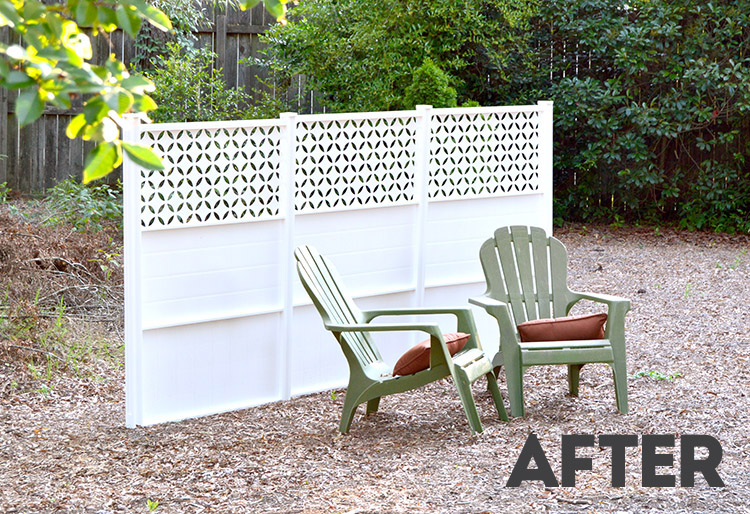
This solution to my unsightly backyard brush pile was remedied in about 30 minutes. The most time consuming part of the process was reading the instructions – which were easy to understand and very thorough.
After seeing how simple this project was, my mind is racing to think of other uses for the Connections™ panels. They come in 3 heights – 1 tier, 2 tiers and 3 tiers – and all posts and panels are interchangeable. The possibilities are endless.
- Want to keep pets and kids out of your garden? Connections™ will do the trick.
- Keep bicycles and other yard toys out of view of passersby with a 2 tiered system.
- Make a lattice wall for your roses to climb! There are also decorative and seasonal elements, as well as garden edging to really finish off any landscaping designs.
What backyard project have you been wanting to tackle? Head on over to Lowe’s, exclusive carrier of Connections™ paneled fencing.
Want to try it for yourself?
Bite Sized Biggie will randomly choose a winner of one (1) Connections Fencing Package from our Facebook followers on Friday, August 1.
Read more about Connections Decorative Fencing!

18 Comments
Leave a Reply