This free downloadable graduation card is a sponsored post written on behalf of ASTROBRIGHTS® Papers. All opinions are mine.
What do most – ahem, all – graduates want for graduation? That’s right. Money.
Cold, hard cash.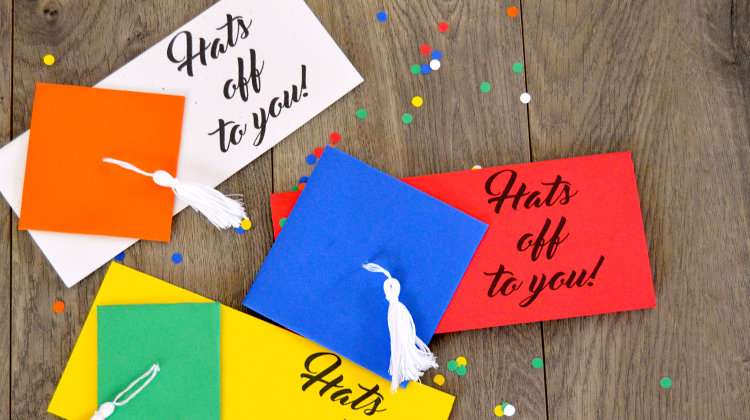
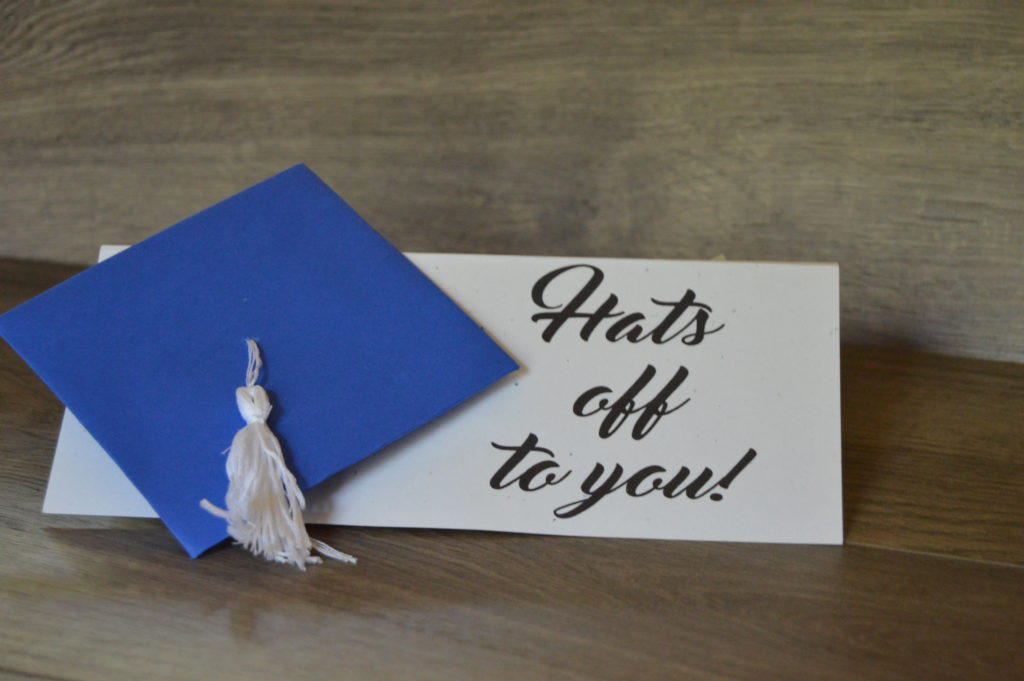
What a better way to deliver your graduate’s desired gift than with a DIY Money Holder Graduation Card… complete with a miniature graduation cap and tassel! These whip up pretty quickly, and you can match the graduate’s school colors because these papers come in every color – it’s a great project to COLORIZE life a little!
For this project, we used:
- Astrobrights® colored card stock (In the above photo, we used Stardust White, Orbit Orange, Re-Entry Red, Blast-Off Blue, Solar Yellow and Gramma Green)
- Scissors
- Glue
- Tape
- Ruler
- X-acto knife
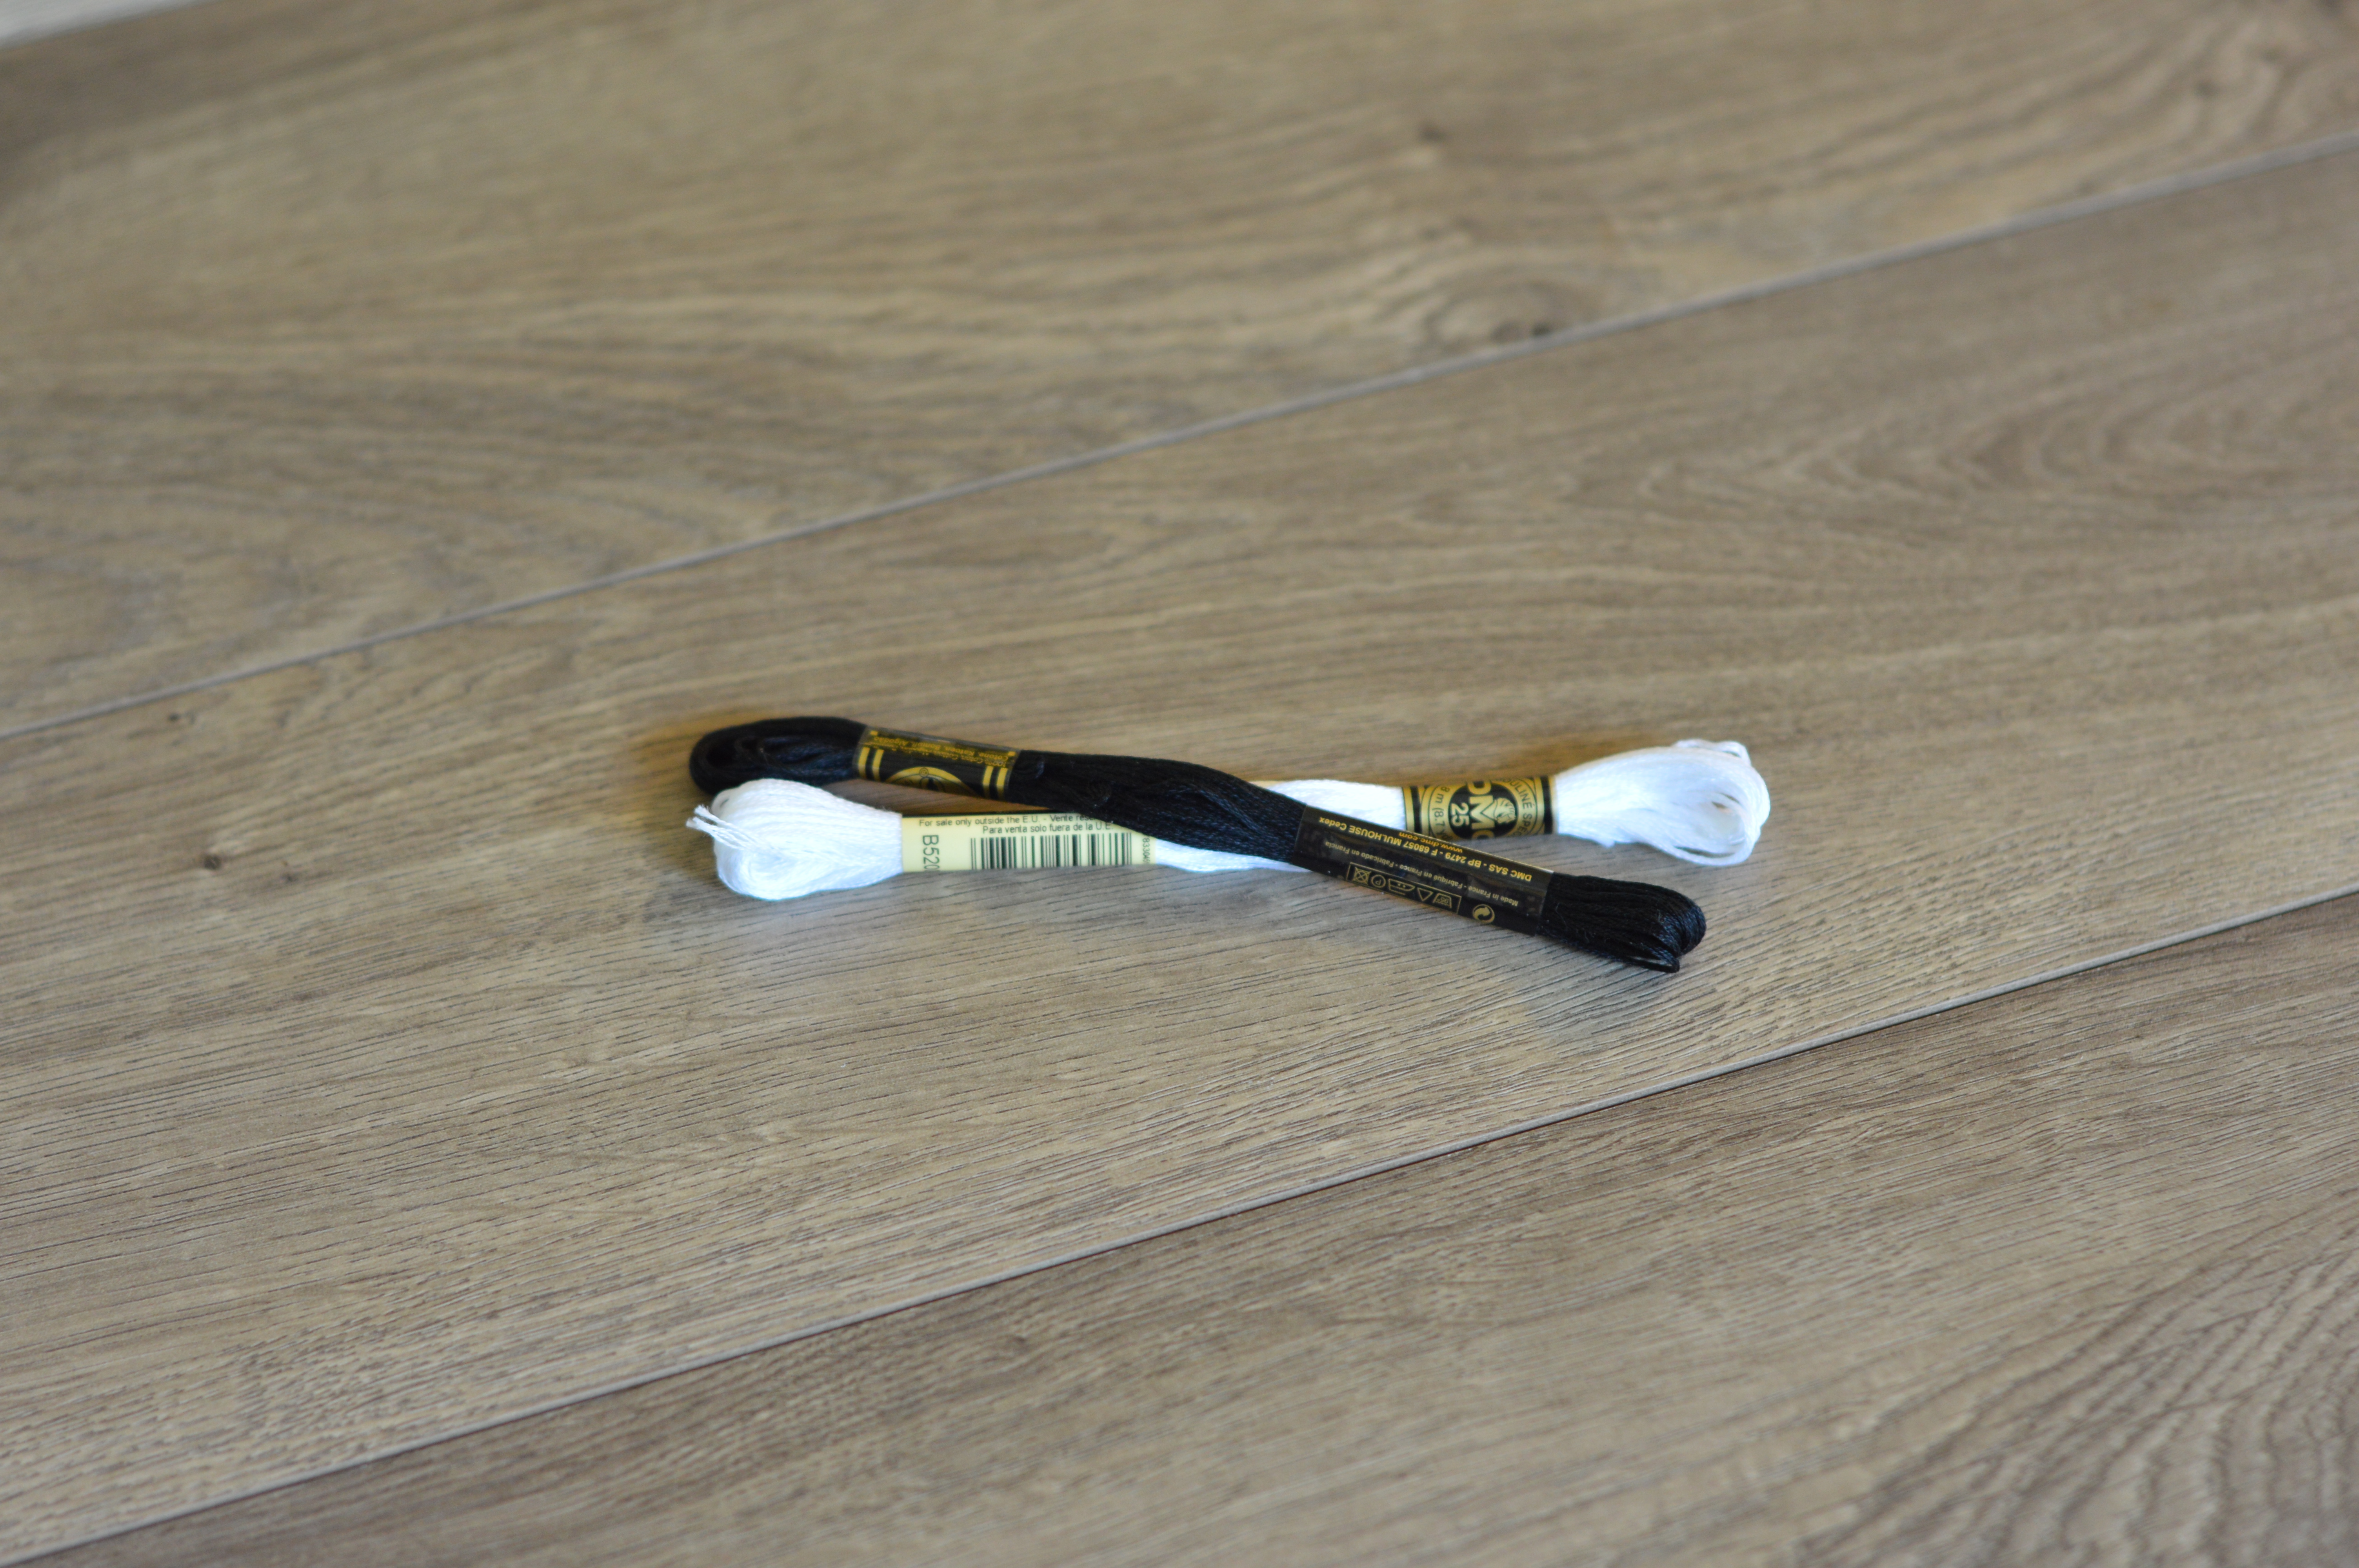
- Embroidery floss (the colors may vary depending on your cap color). One skein makes 3 tassels.
- Printable card: Download here
First, the tassel.
To make your graduation tassels, you’ll need embroidery floss. A single skein will make about 3 small tassels.
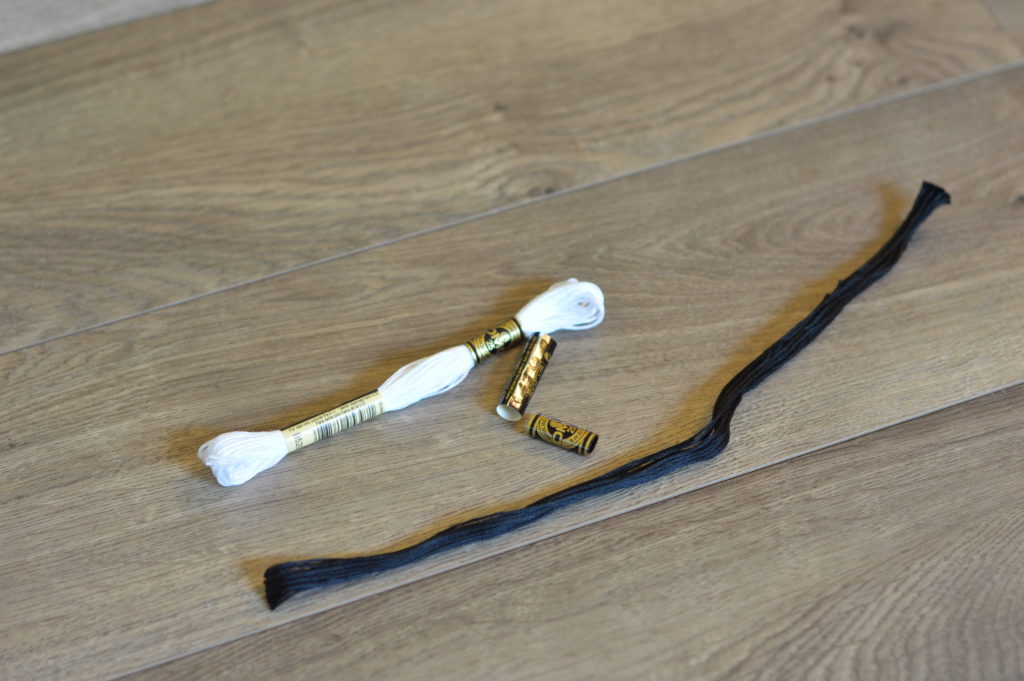
To begin, snip the loop on end of the skein, making one long bundle of floss. Next, cut the bundle into 3 bundles.
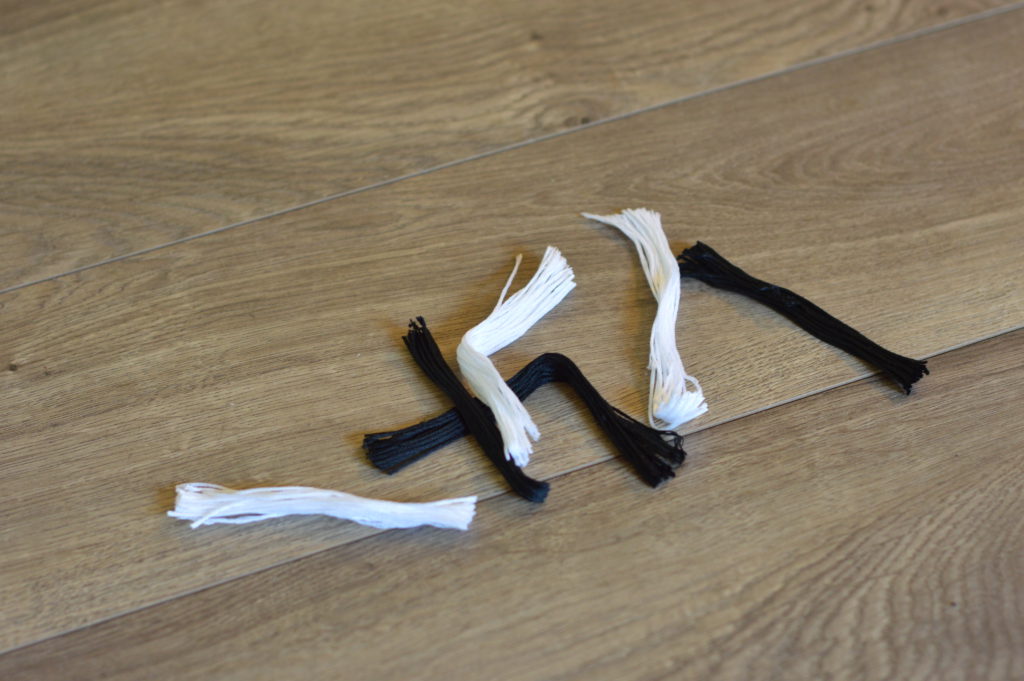
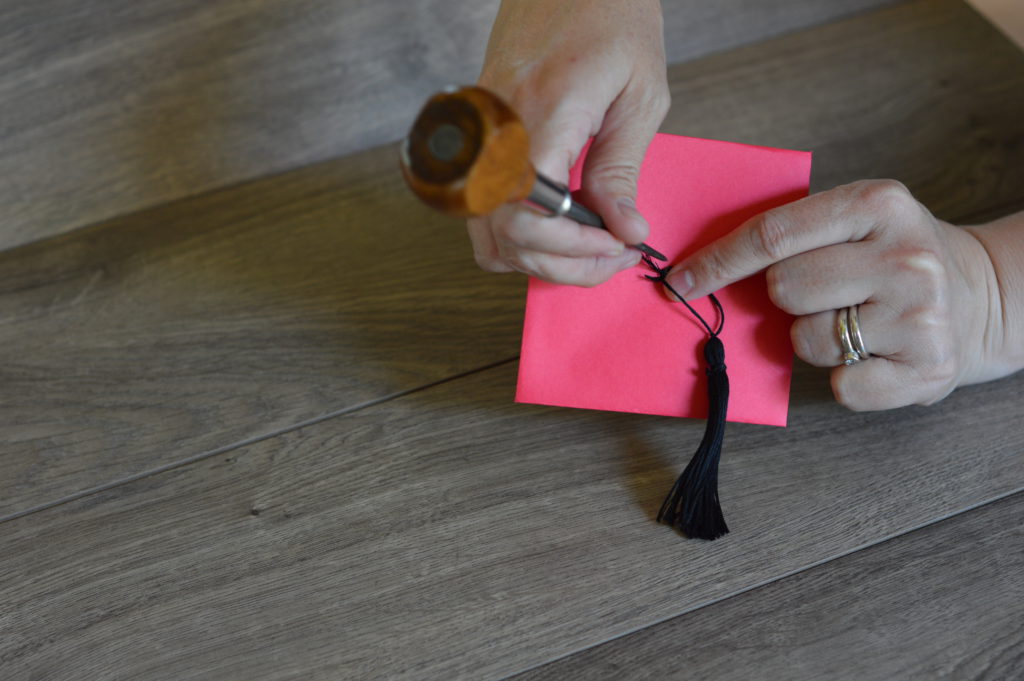
From each bundle, remove 2 threads. With one thread, tie it in a knot around the middle of one of the bundles. This knot and string will become the string on which your tassel “hangs” from the cap.

Using a clipboard or binder clip, clasp the hanging thread from above and fold the ends of the bundle together.
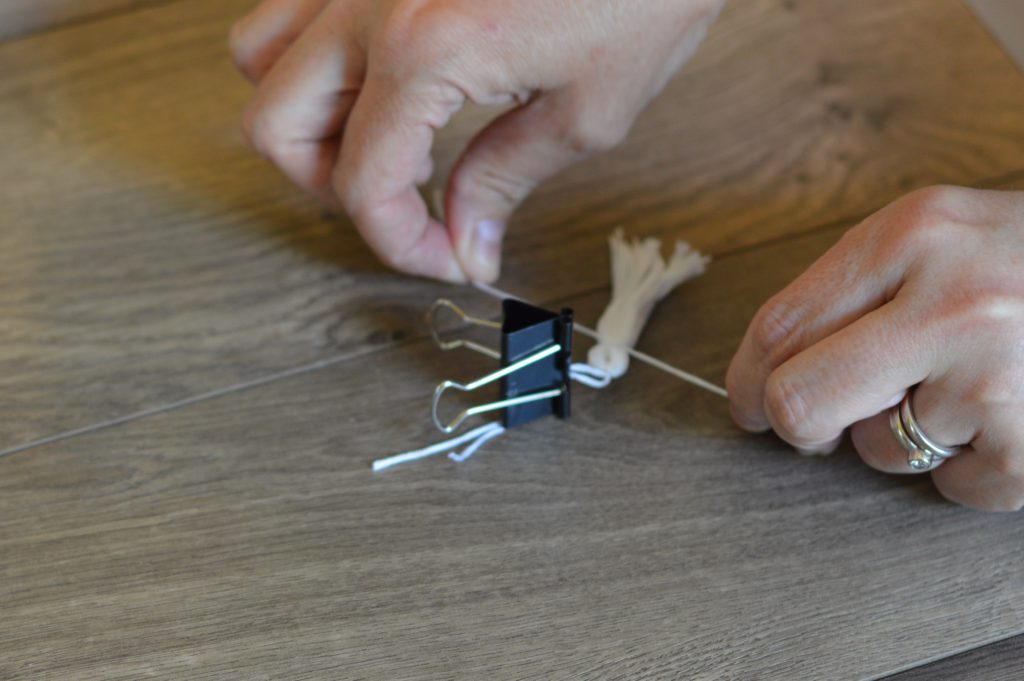
Using your other cut thread, wrap it around the top of the tassel, approximately 1/3 inch from the top of the tassel (where you’ve folded it in half). Tie that in a knot and snip the ends of that string so they don’t show.
Unclasp from the clipboard and tie the ends of those strings in a knot (this part is optional, but I found it easier to push through the cap later.)
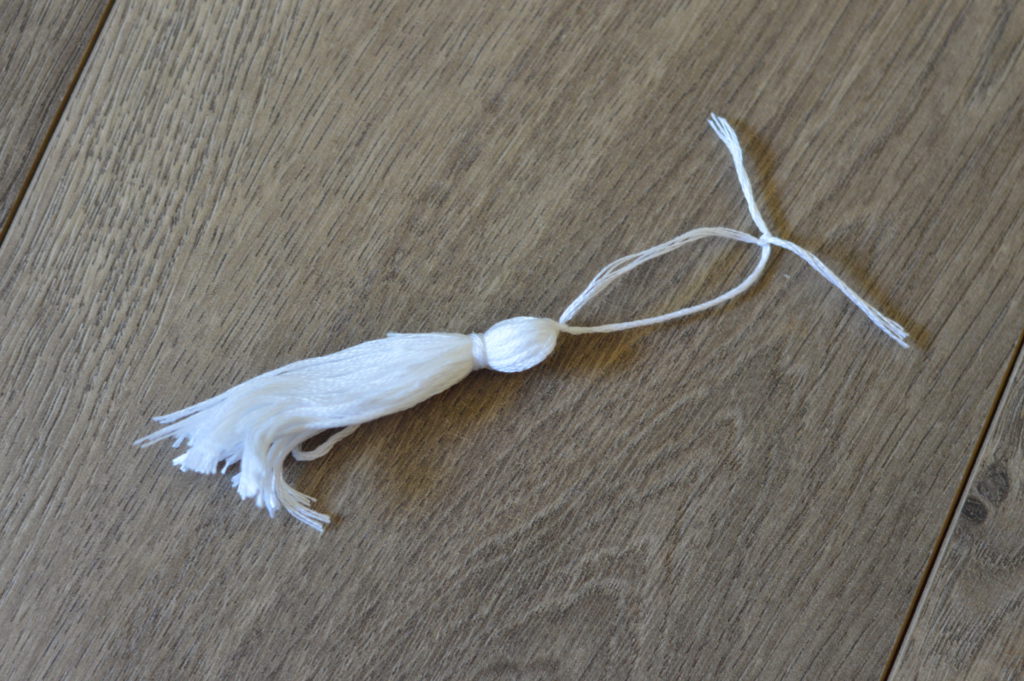
Place finished tassels aside for use later in the project.
Then the caps!
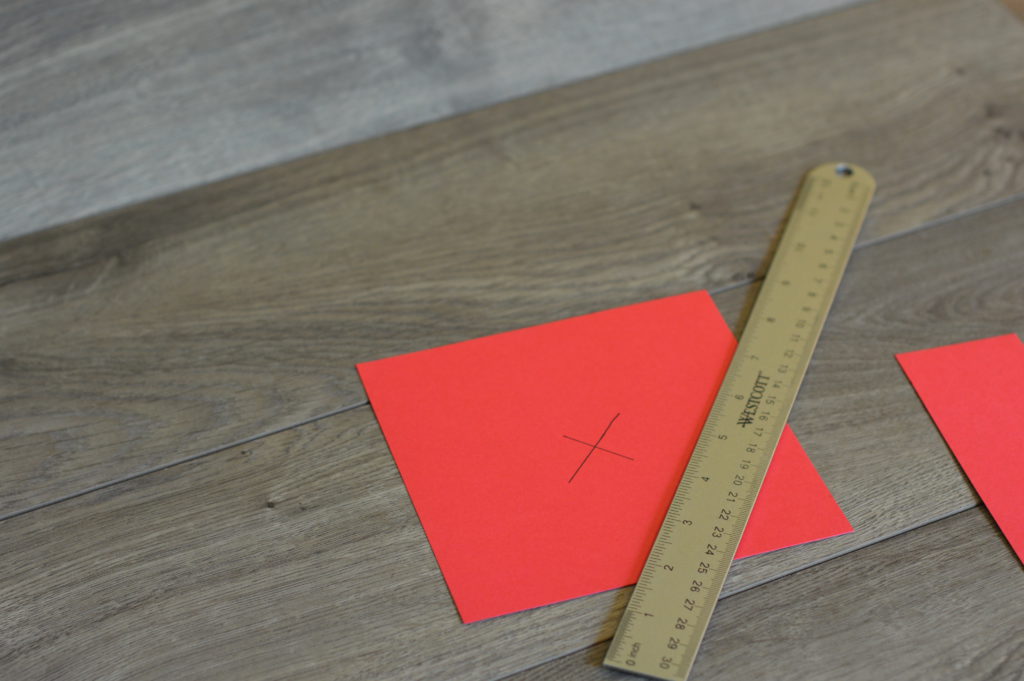
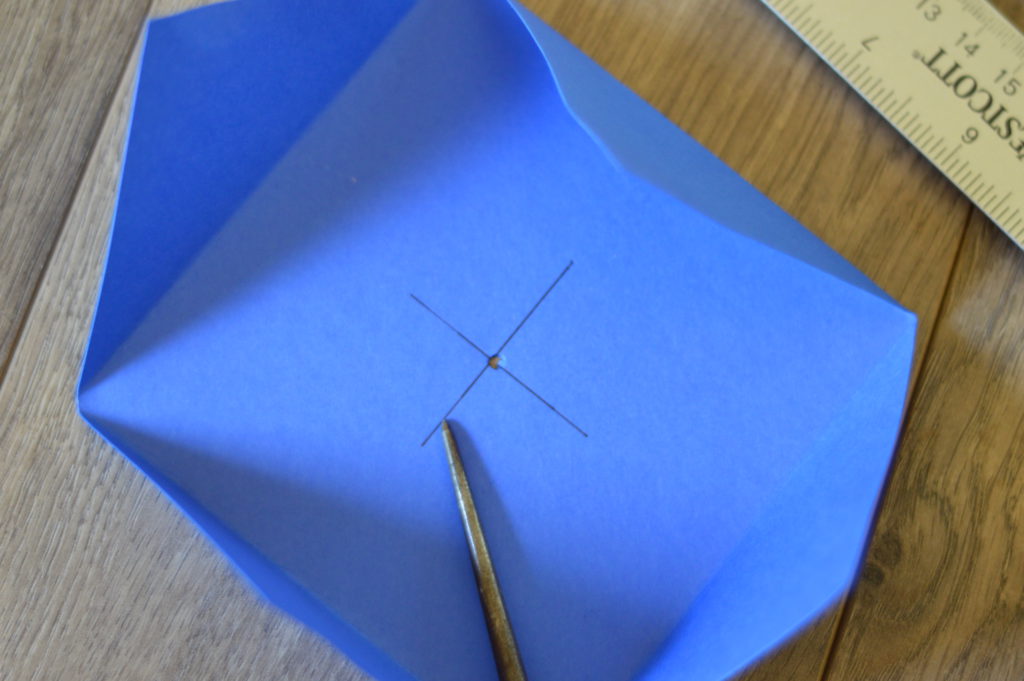
Using a paper cutter or scissors, cut 5 inch square pieces* of cardstock.
With a ruler and pencil, mark the center of the square with an “x”.
Fold each corner in to the center.
With a sharp object, poke a small hole through the center of the cap.
Glue down 3 of the corners, temporarily leaving the 4th unglued.
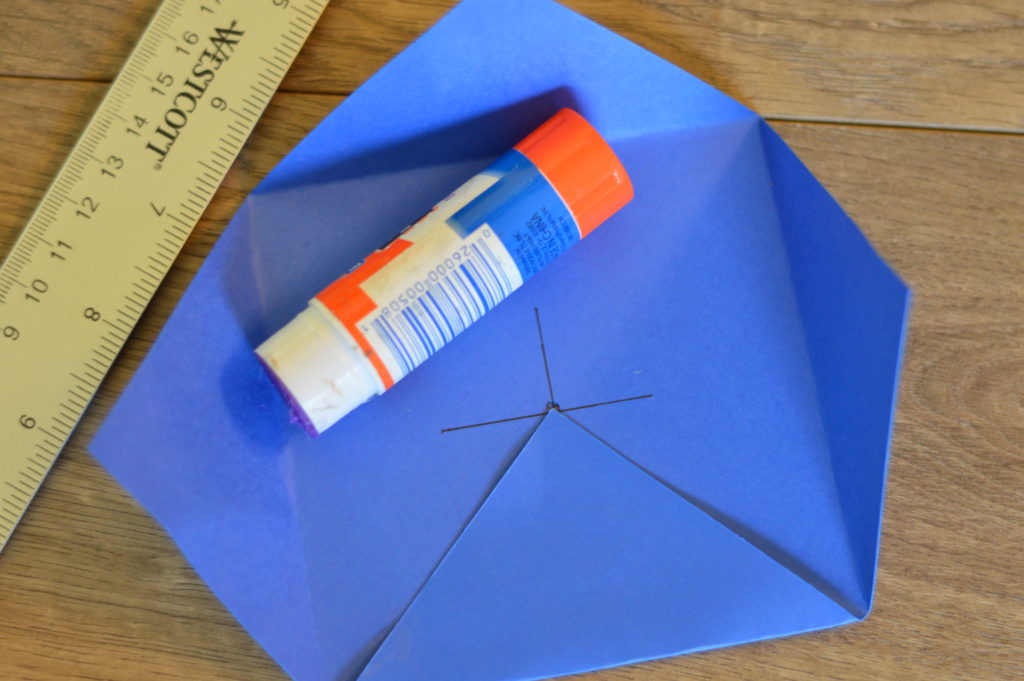
Using the object, push the knot of one your finished tassels through the hole from the “front” of the cap. Secure ends with tape and glue down the 4th corner.
Your cap is complete.
Optional step:
For a more finished look, using a hole puncher, punch out a small circle of your colored paper and glue it to the front center of your cap as the button.
*For a dramatic effect, a 6 inch square makes a larger, more pronounced cap. However, neither it nor the 5 inch square will fit into a standard envelope. A simple circle sticker can seal the card – eliminating the need for an envelope. A 4 inch square will fold into a cap that WILL sit askew on the card and still fit in a standard #10 envelope. Try a few and see what you prefer. We like the look of the big cap!
Finally, the card!
Step one, print the card on a piece of ASTROBRIGHTS® card stock. ASTROBRIGHTS® Papers is a line of vibrant color paper and with 26 colors, you’re sure to find one that coordinates with your graduate’s school colors. Here we’re using Stardust White as a nice, neutral option.
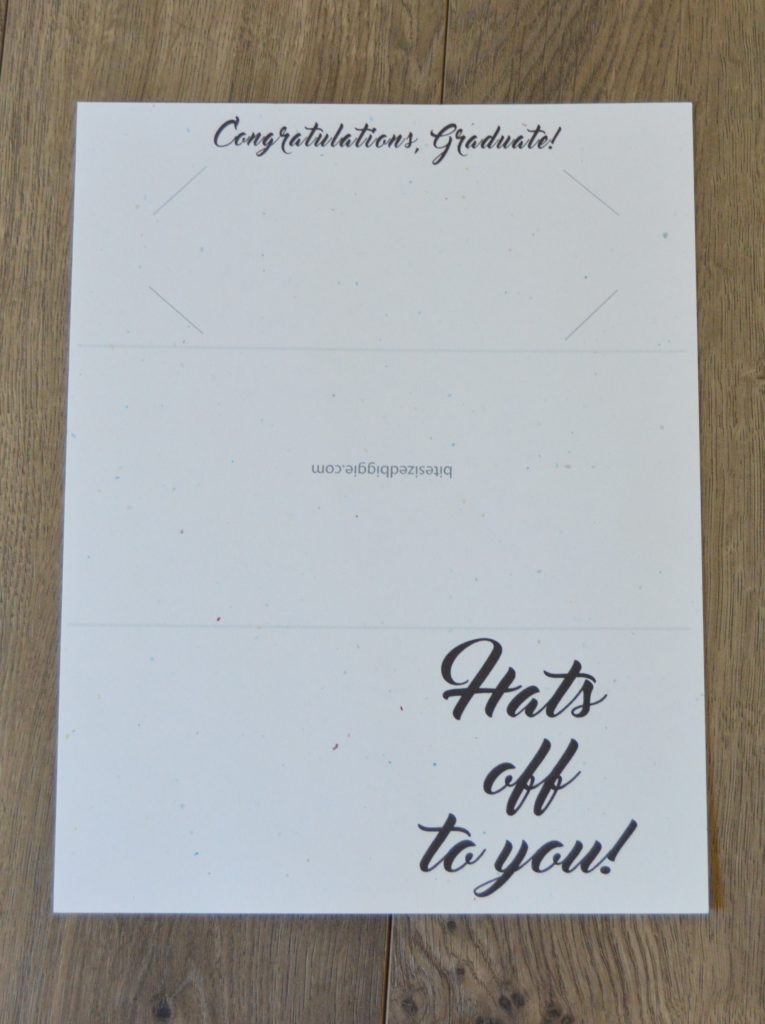
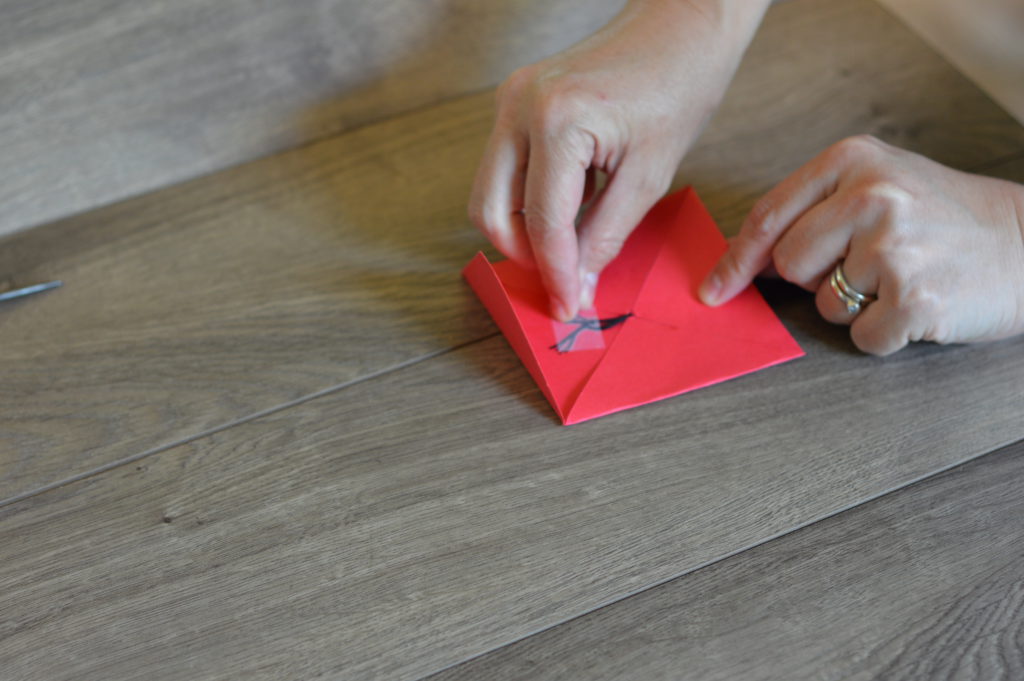
Fold the bottom third of the card up and glue it to the middle third.
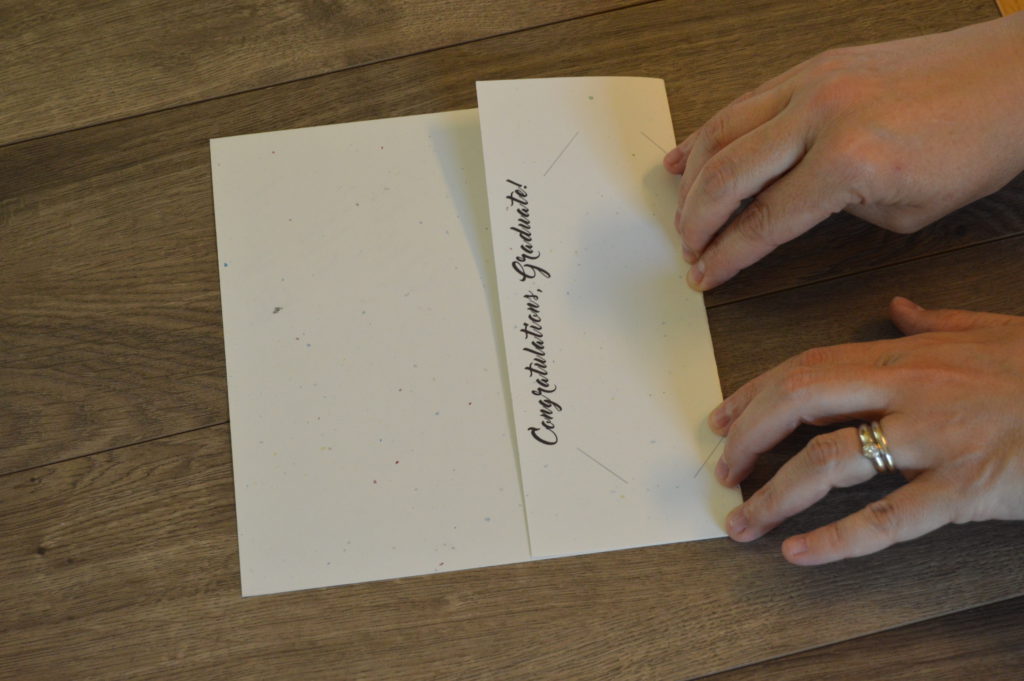
Fold the top third down and crease it.
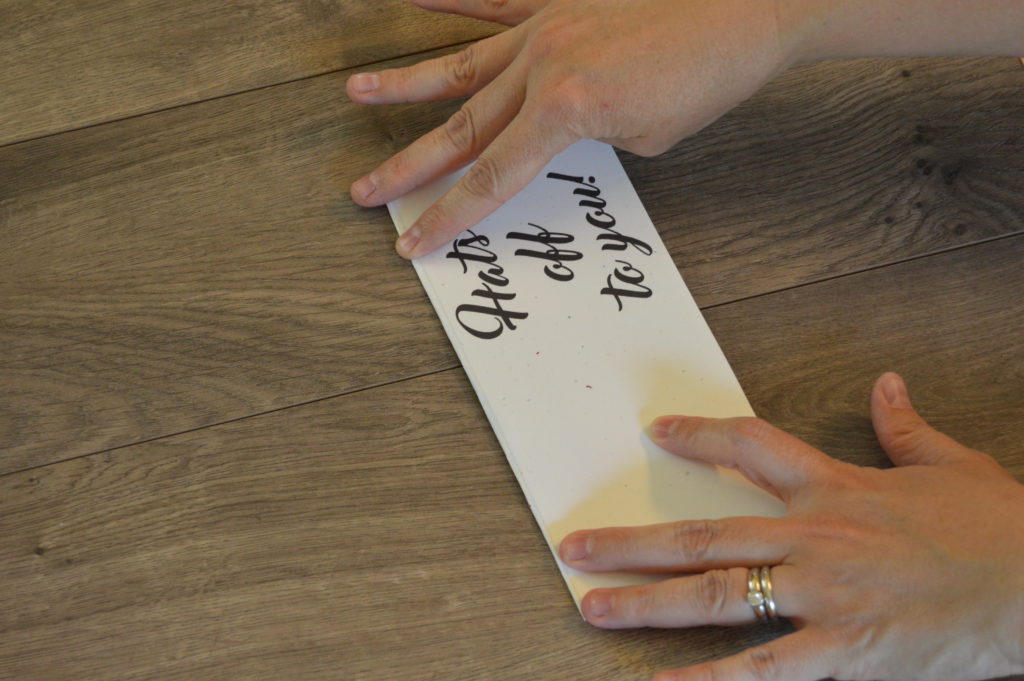
Using an X-acto knife, cut along the slanted lines on the inside of the card. Make sure your cuts go through both layers of paper. Make a couple of cuts so your slits are open enough to hold your bill or a check!
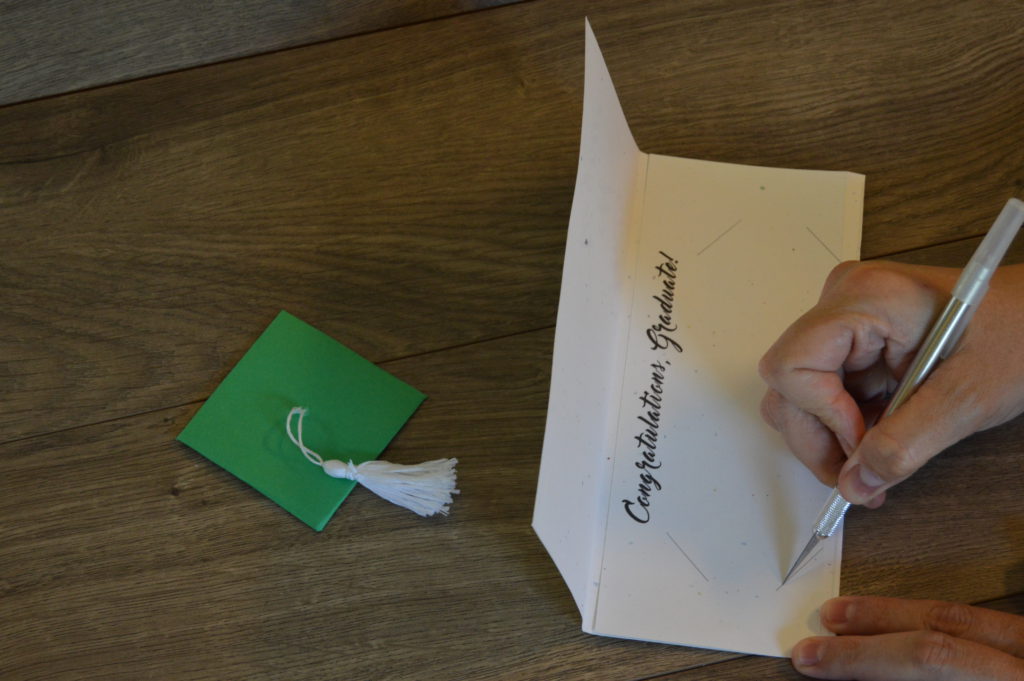
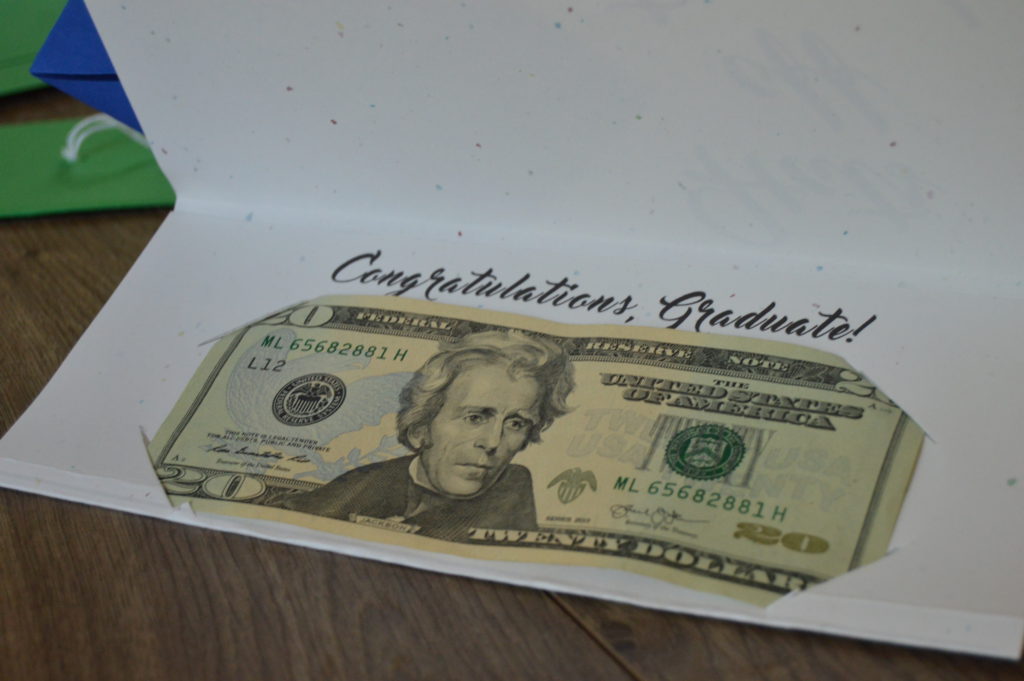
Lastly, glue your cap to the front of the card.
Voila! A money holder graduation card!