Projects that are quick, easy and functional are by far my favorite. Since this matches all three criteria, I want to show you the process! These make a great gift for any occasion or holiday. For 6 placemats, you’ll only need two 1-yard cuts of fabric; one for the front of the placemat and one for the back. You can also choose to make these reversible! Ready to make your own? Here’s how!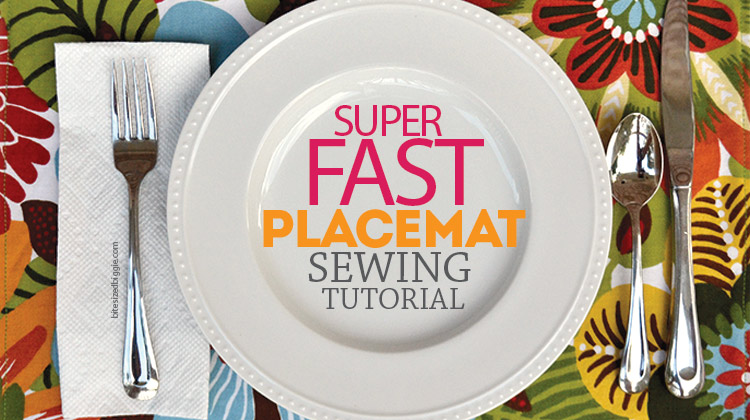
- Grab your supplies:
- Paper or cardboard to make your template
- Pen or pencil
- 2 1-yard cuts of fabric
- Scissors
- Pins
- Sewing machine
- Pre-wash and iron your fabric. I used Robert Allen @ Home Kiki Pinata, a medium weight fabric for the front and a lightweight cotton for the back.
- Choose the finished size of your placemats. I made 6 for an average sized table and wanted to keep the scale on the compact end of the size range, so I chose to make mine 17″ x 12″.
- Cut your pieces to allow a 1/4″ seam, so cut at 17.5″ x 12.5″. I made a template out of cardboard first, then trimmed to the exact size using a rotary cutter and mat. If you’d like yours slightly larger, consider a finished size of 19″ x 14″.
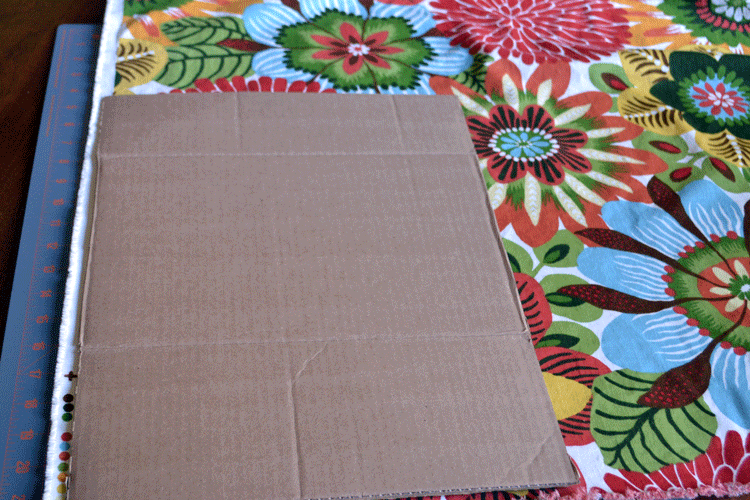 Pin the fronts of the fabrics together and mark off a three inch space.
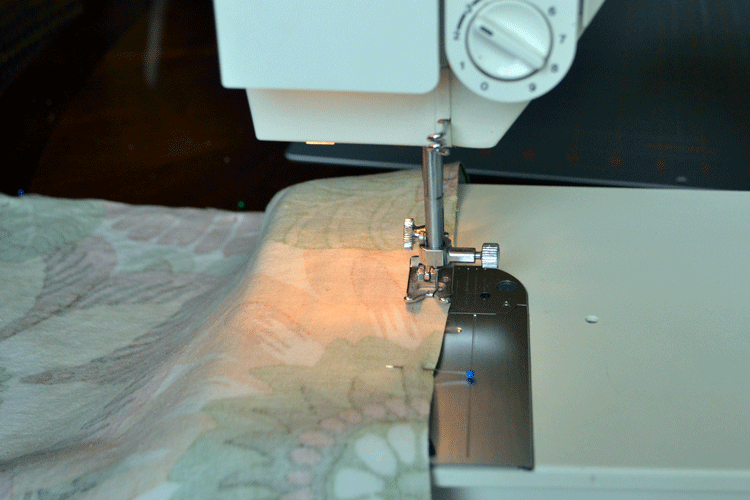
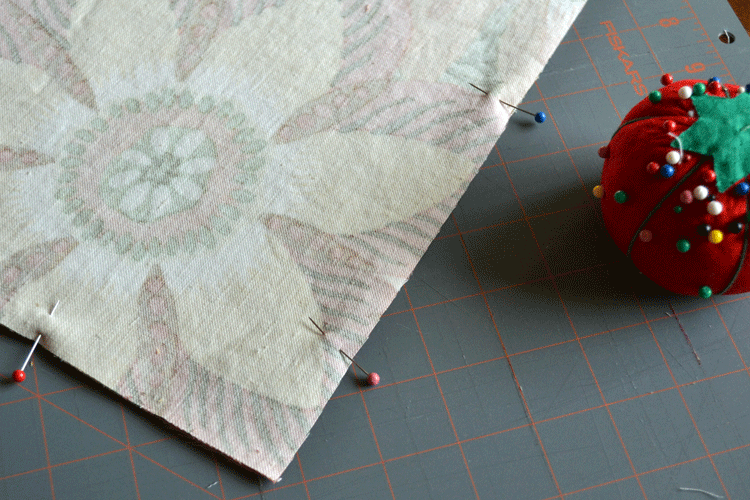 Sew with a 1/4″ seam all the way around the placemat, except the three inch space.
 Trim the excess material at each corner, then turn the placemats right-side out and iron.
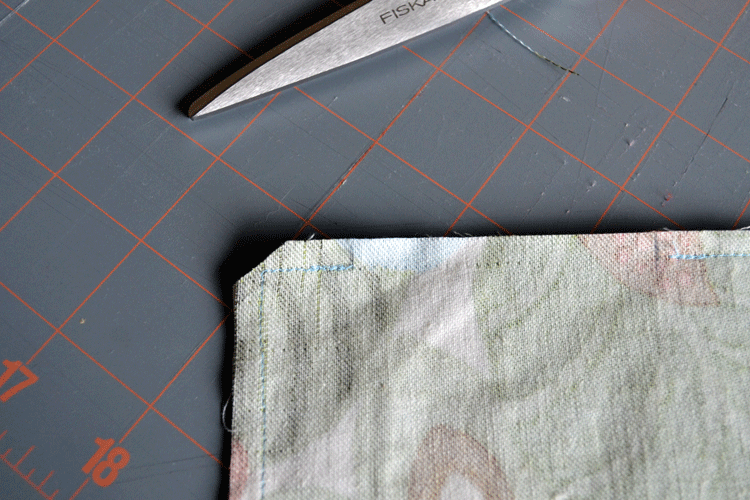 Sew the top of the placemats with 1/4″ seam all the way around the perimeter. This will close the opening you’d left for turning it right-side-out.
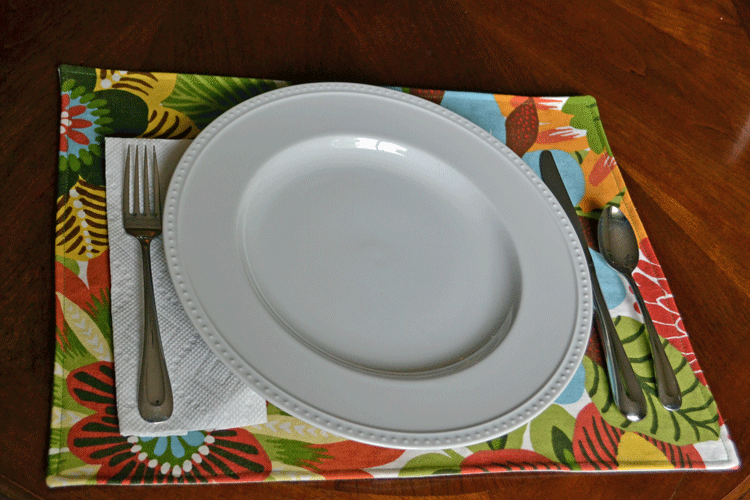
Done! Now wasn’t that simple? Go make a few sets because there are birthdays, housewarmings, anniversaries, holidays and bridal showers on your calendar!
Pin this project so that you can find it easily later!

5 Comments
Leave a Reply