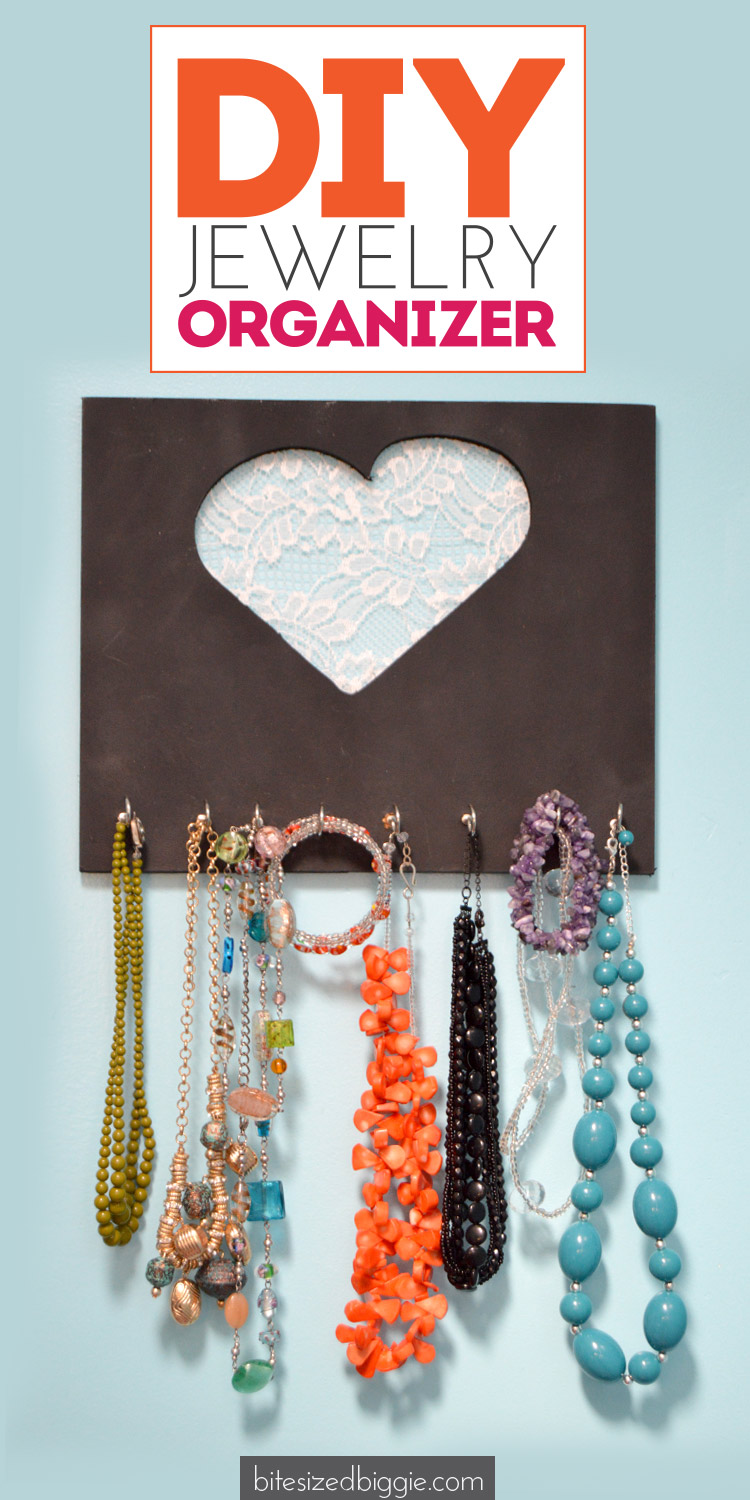
Several years ago, I got a lovely jewelry box for Christmas. At the time, I had a few simple necklaces and one or 2 pairs of earrings. The jewelry box more than accommodated my small collection. After I became the mother of girls – and let my inner girl out – I began collecting fun, chunky necklaces and making some jewelry myself. Slowly my jewelry box became a tangled mess. Using materials on hand and an inexpensive pack of cup hooks I created this cute, functional hanging jewelry organizer! You can make one too!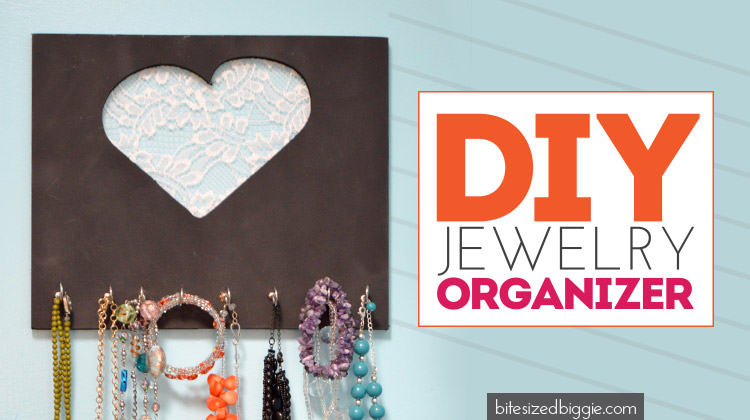
How to make a hanging jewelry organizer:
Materials
- A 12 x 12 plank (size can vary, and plank can be something reclaimed or from a craft or hardware store)
- Spray paint
- Coping Saw or Jigsaw
- Piece of fabric large enough to cover your cutout
- Heavy Duty Stapler
- Drill (or Dremel with drill bit attachment)
- Hole punch and hammer
- Set of cup hooks (affiliate link)
- Command Picture Hanging Strips (affiliate link)

Instructions
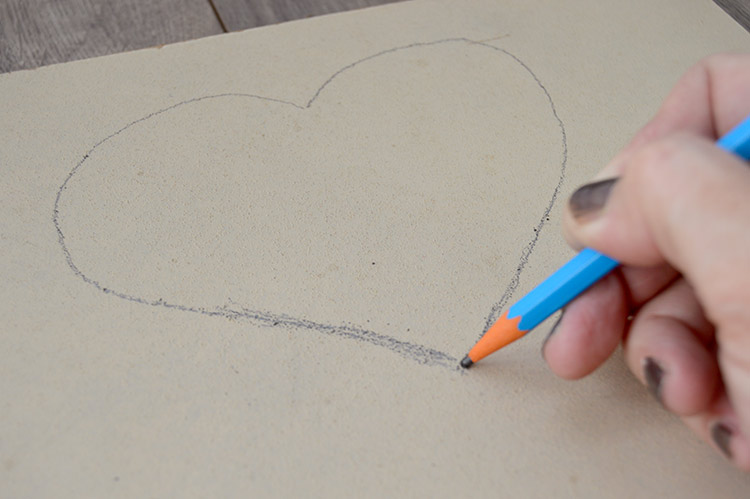
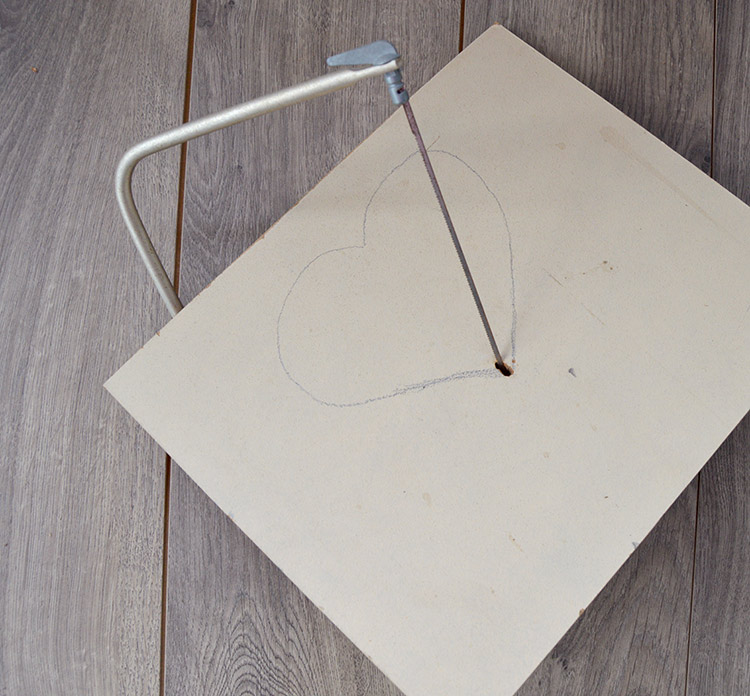
- Draw the outline of your cut out shape.
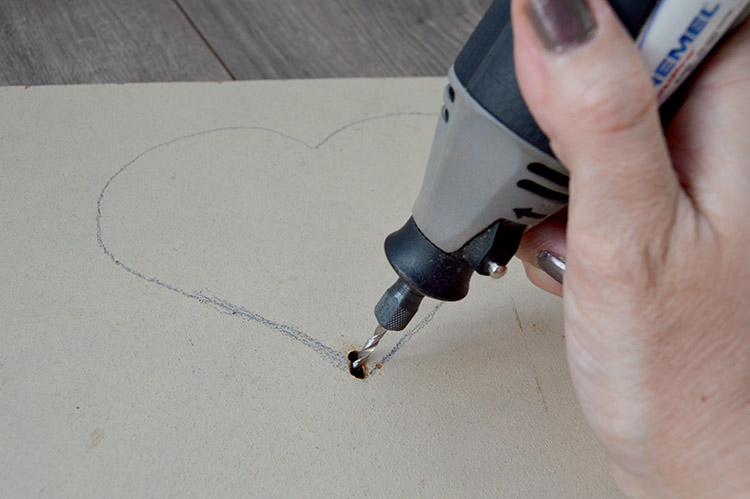
- Drill a hole in the inside of your shape to accommodate your saw blade.
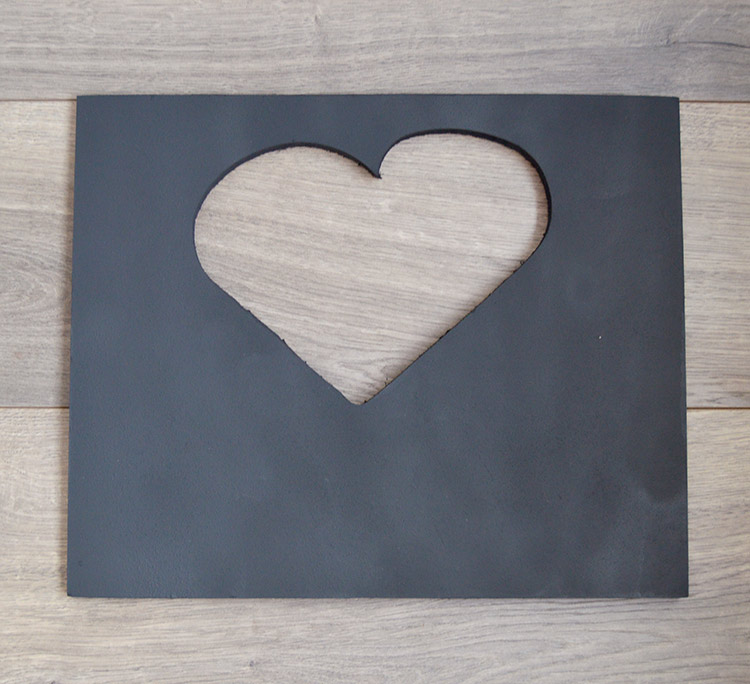
- Using the coping saw or jig saw, cut out your shape. It doesn’t matter if you go outside of your lines some. Imperfection is a-ok. Exercise caution with your saw. Those blades can bite!
- Spray paint your board and allow to dry. Add a 2nd coat of spray paint. Make sure you spray the outer edge and the inside edge of your cutout.
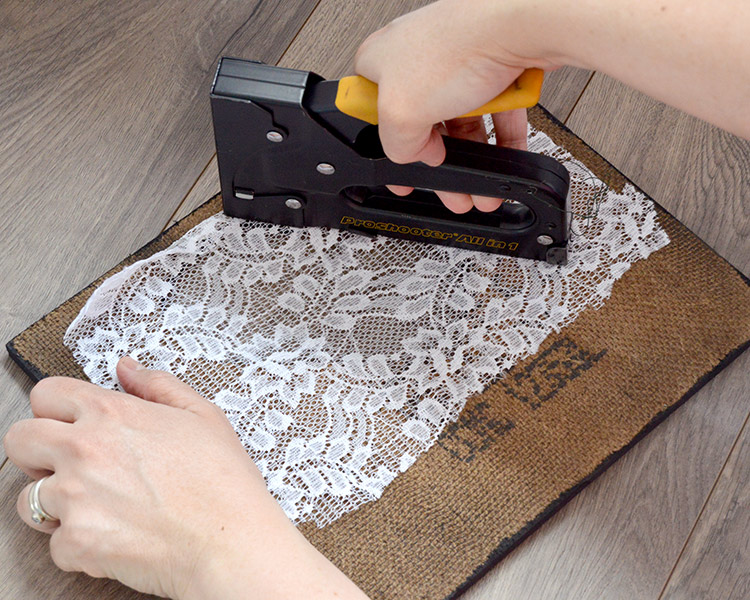
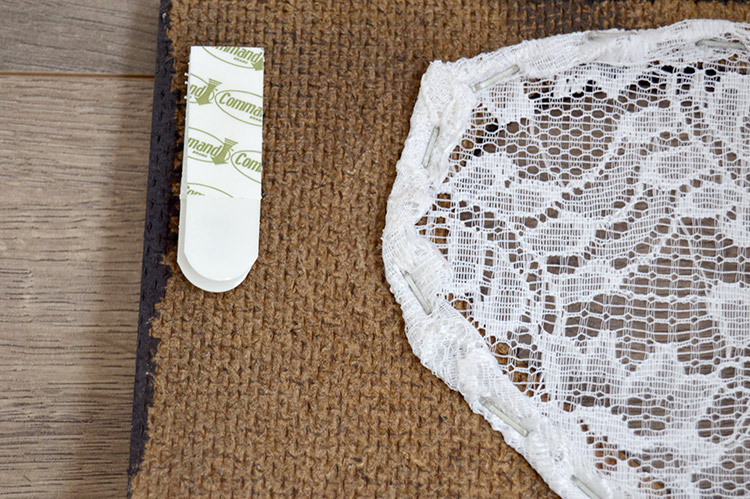
- Using a heavy duty stapler, staple your fabric to the back of your board. I rolled the hem and then stapled to prevent fraying edges.
- Using a hole punch, tap shallow holes about 1 inch apart across your board about an inch above the edge.
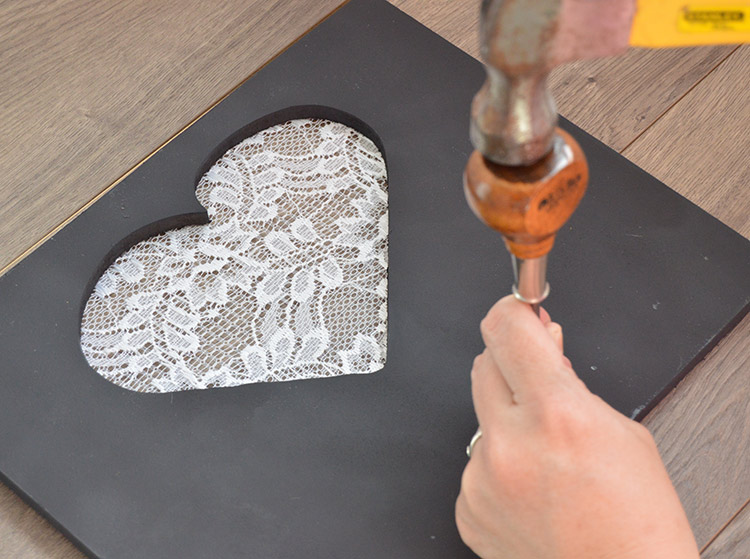 This will help start the cup hooks (affiliate). Just tapping the hole punch about 3 times with little force will do the trick. Don’t use lots of force. The shallow hole will help get the cup hooks grab the wood when you screw them in. My holder used 8 hooks. You want enough space between the hooks so you have room for your jewelry to hang.
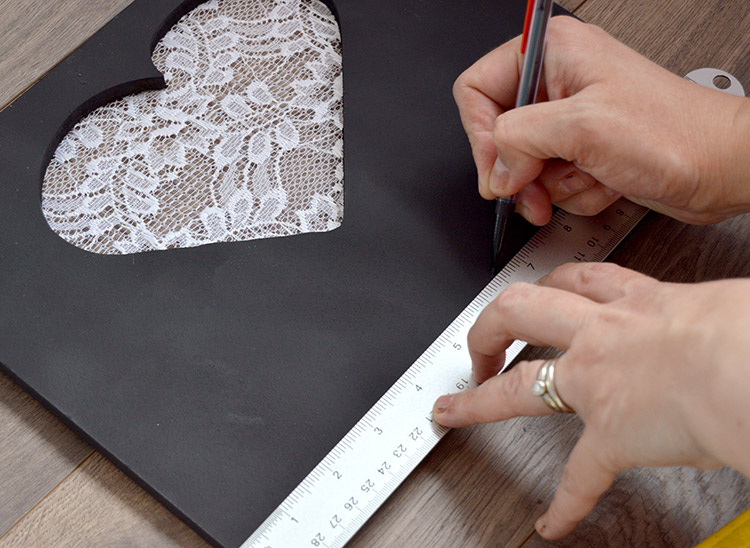

- Following the manufacturer’s instructions, apply the Command Hanging Strips (affiliate) to the back of your project. I used 4 sets of the smaller hangers. Depending on the weight of your board and jewelry, you may need larger hangers. Peel the backing off the strips and hang on your wall – applying pressure for at least 30 seconds. I waited overnight to hang jewelry to give the adhesives time to set.
- Hang your jewelry and enjoy the extra space in your jewelry box!
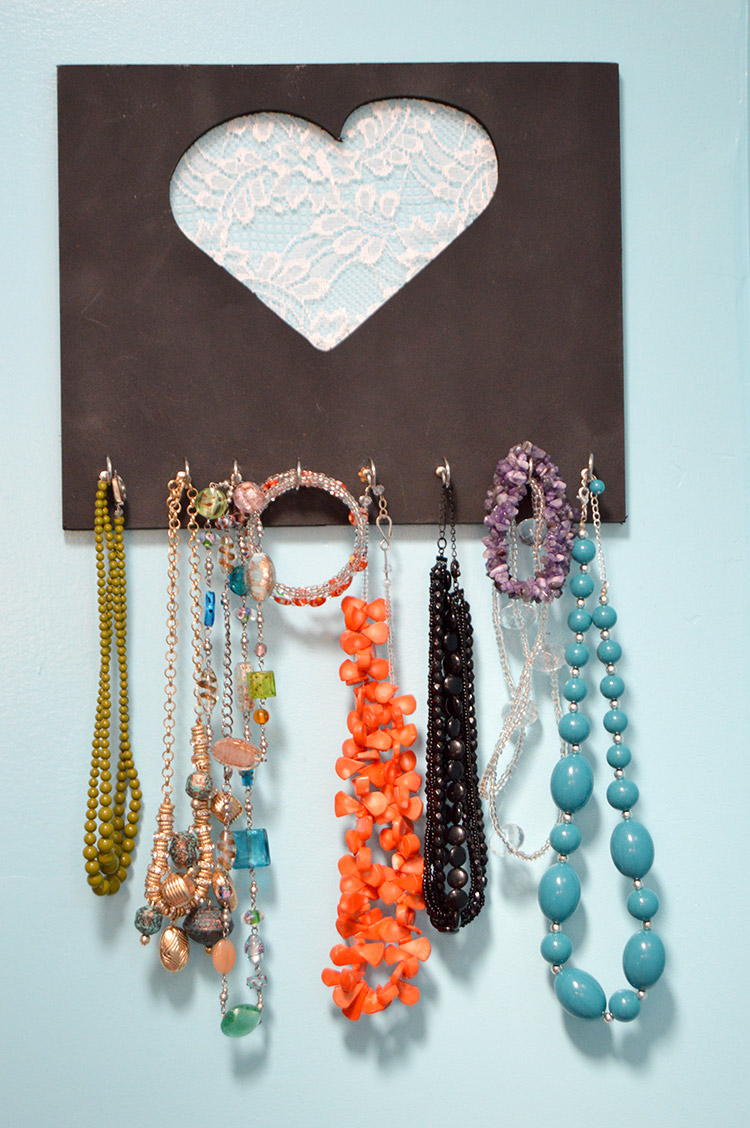
This jewelry organizer is so simple. Cutting out the shape is the most challenging part and with the right tools, that’s really not even difficult. The Command Hanging Strips make mounting the project even more simple. I chose the strips because they typically can be removed without leaving any damage behind. And since you apply them to the back of your project first, you can eyeball the hanging without having to worry about leveling picture hangers. Also nice – it’s so secure the organizer won’t move around on your wall!
Pin this project for reference and get to work on your own!