I’m pretty sure that if Martha Stewart were to visit my home, she’d slap me, and I wouldn’t blame her. I’m not a neat and tidy, photo-ready sort of decorator and the holidays are no exception. So, when it’s time to pull out the Christmas decorations, I rarely put anything in the same place 2 years in a row. I love adding new elements to our displays each year, but I don’t love spending a ton of time OR money. So I’m sharing my favorite project this year. Enter the 3 Minute Hot Mess Garland.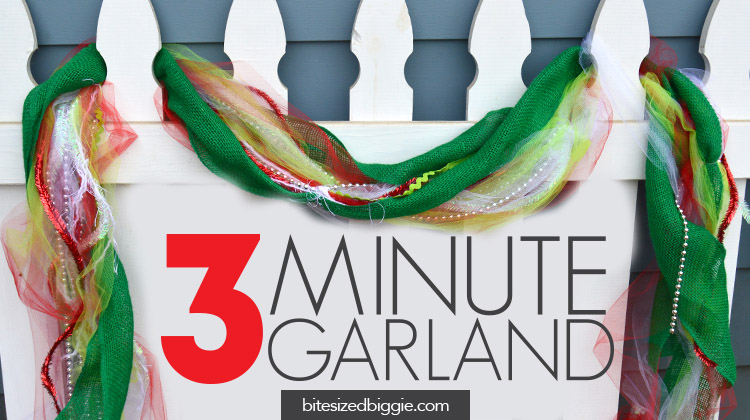
This garland could not be easier to make. The hardest part is figuring out where you’re going to put it and how long you need to make it. Personally, I love a shabby chic look with a touch of either faux feathers or lace, but the possibilities are endless with this garland. Plus, it’s fun to create a new DIY decoration! Dress it up with more sparkle or dress it down with burlap, coordinate it with outfits for a holiday backdrop or go with traditional colors. Can’t decide? Make several!
Materials needed to make your garland
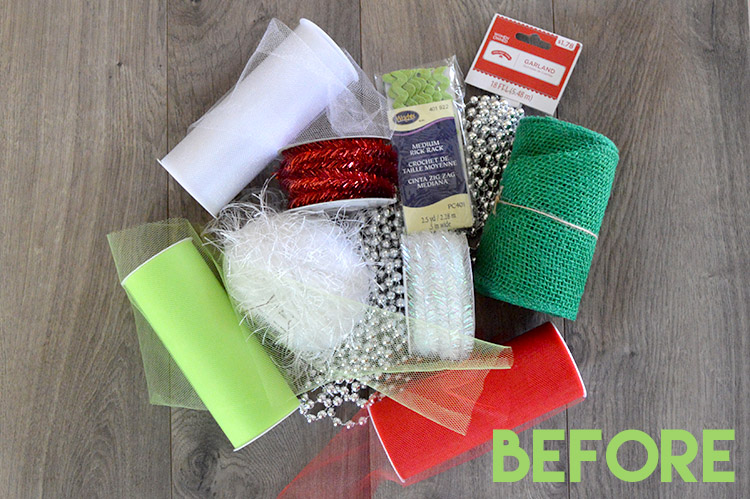
- Equal lengths of ribbon, yarn, burlap, twine, strips of fabric and whatever else tickles your fancy.
- Clear rubber bands or some floral wire
- Scissors
Step One
Measure your area that you’re going to hang the garland. Then, decide how far down you want the garland to drape and then add that to your length.
Step Two
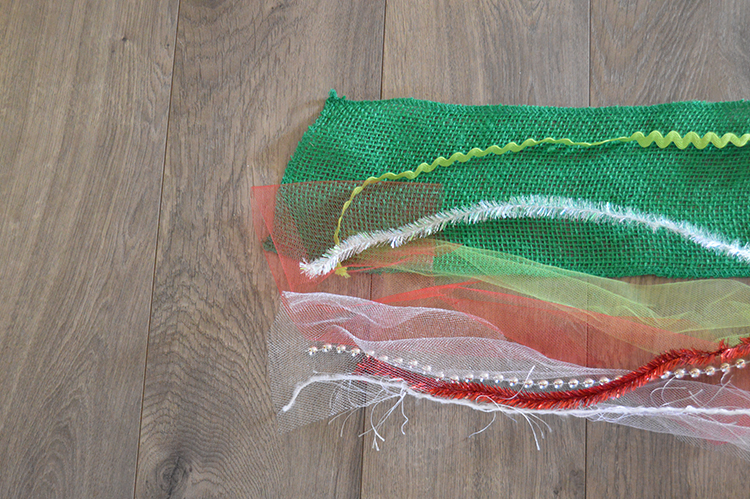
Cut all of your ribbons, yarn, beaded garland and more to that length. You may want to cut some of the pieces in multiple lengths if you want to make it appear more full, but that’s a personal preference.
Step Three
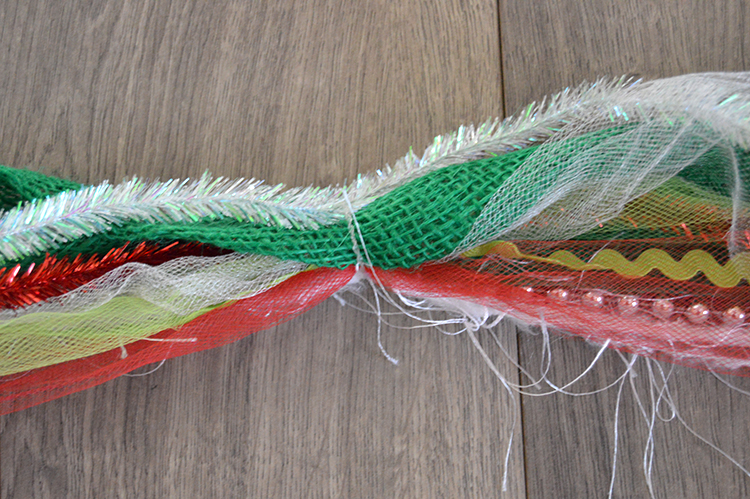
Cinch it. Using floral wire or the clear rubber band, cinch the garland in the center, but don’t do it tightly. Make it just tight enough to hold the bundle together because this makes for easier handling when it comes time to hang. Also cinch it once more on each half – between the middle and the ends of the garland.
Step Four
Finally, hang it and enjoy!
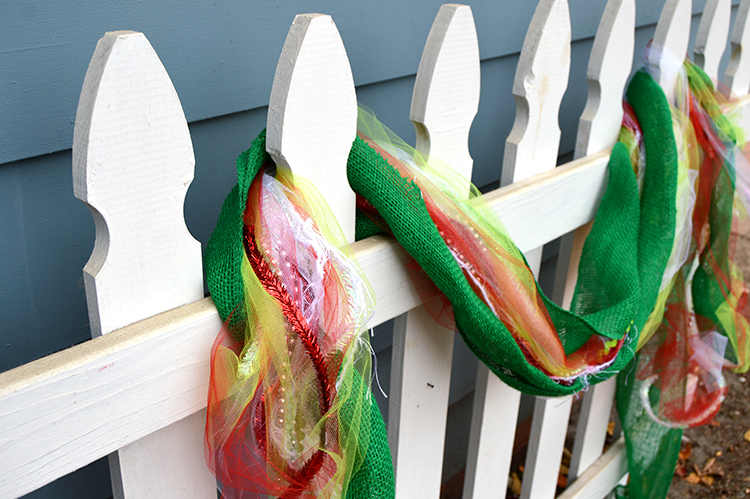
One thing I love about this project is that it’s so quick. Another is that it requires little precision, so if you have willing children around, let them help. And lastly, it’s no sew, so if you’re like me and want to switch things up every year, the individual elements are still useful (like wrapping around gifts) when all is said and done!
Bonus Tips
- Add a strand of battery powered LED lights (affiliate link) to make it a lighted garland.
- Using this same trick, you can make a simple scarf if you stick with all yarn, ribbon and fabric. Instead of rubber bands, tie knots in a few places and you’re done.
