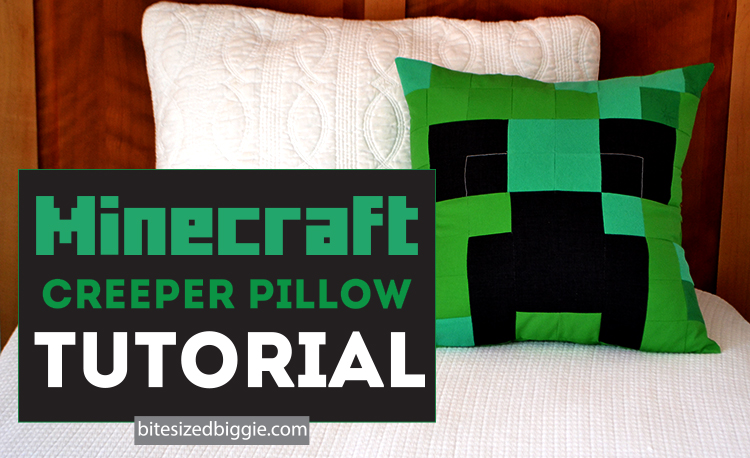
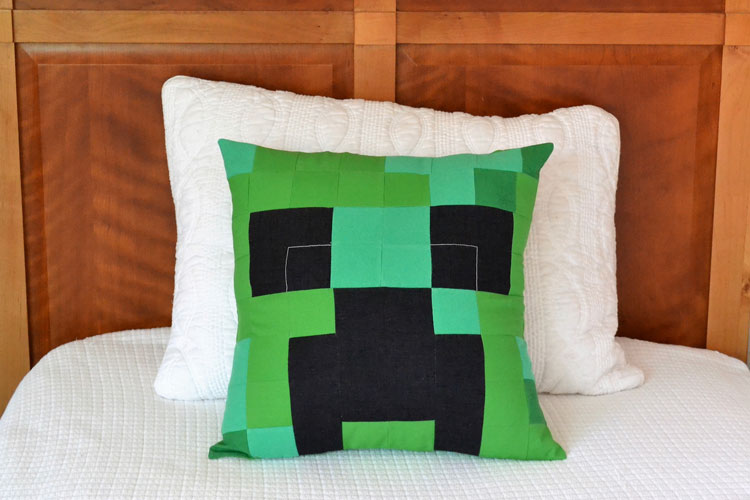
My son is into playing Minecraft and LOVES anything related to the game. At first I didn’t understand the excitement, until I sat down and watched him build and explore. It allows him to be creative while also problem solve. So, I made a cool Minecraft creeper throw pillow for his bedroom. He was thrilled and couldn’t wait for me to finish sewing it. The pillow came out perfect and it was a blast to make.
The pillow has an envelope closure in the back, so the pillow form can be removed for easy washing. The Minecraft pillowcase measures 16″ x 16″, but insert a 18″ x 18″ pillow form so the pillow is big and full.
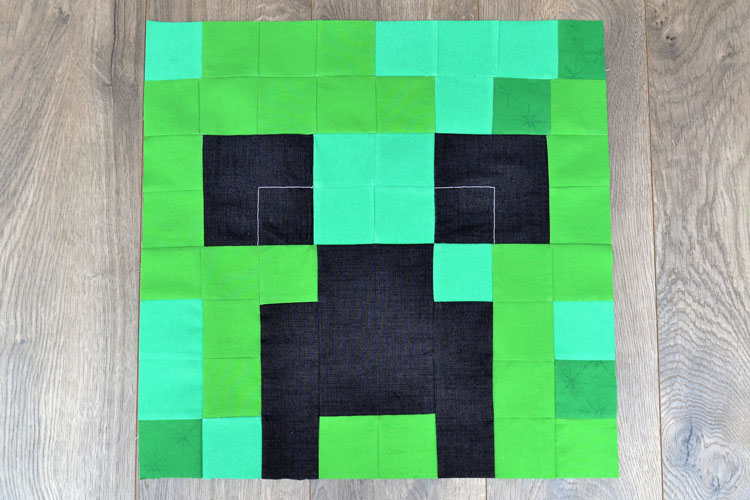
The Minecraft game has a bunch of pixelated images, so a quilted creeper looks similar to the game character. I selected a variety of green colors. One kelly green, a dark green and a lime green. It all works, so don’t worry if your colors aren’t identical to the ones I chose.
Materials
- Minecraft Creeper image (download here)
- 18 x 18 pillow form
- 1/4 yards of Lime Green fabric
- 1/4 yards of Dark Green fabric
- 3/4 yards of Kelly Green fabric
- 1/4 yards of Black fabric
- sewing machine
- wonderclips or pins
- white thread
- scissors or rotary cutter
- fusible Interfacing
- cutting mat with ruler
- chalk or disappearing ink
Tutorial
Print in color the Minecraft Creeper image. Use this as a guide for placing your squares to sew.
Cut
First, cut the following into 2 1/2″ by 2 1/2″ squares:
- 14 squares of Lime Green
- 26 squares of Kelly Green
- 4 squares of Dark Green
- 12 squares of Black
Additionally, cut the black fabric into the following dimensions:
- 2 squares that measure 4 1/2″ x 4 1/2″
Next, cut the interfacing into two 4 1/2″ x 4 1/2″ squares.
Finally, cut the Kelly Green fabric into two additional rectangles for the back two panels of the pillow. The dimensions are 16 1/2″ x 12 1/4″.
Iron, Mark and Sew
Pillow Front
Iron the 2 pieces of fusible interfacing to the back of the two black 4 1/2″ x 4 1/2″ squares.
Mark two connecting lines on the interfacing with some chalk or disappearing ink to create two “L” shapes. These will be in the middle of the squares (at 2 1/4″). This L line highlights the Creeper’s eyes.
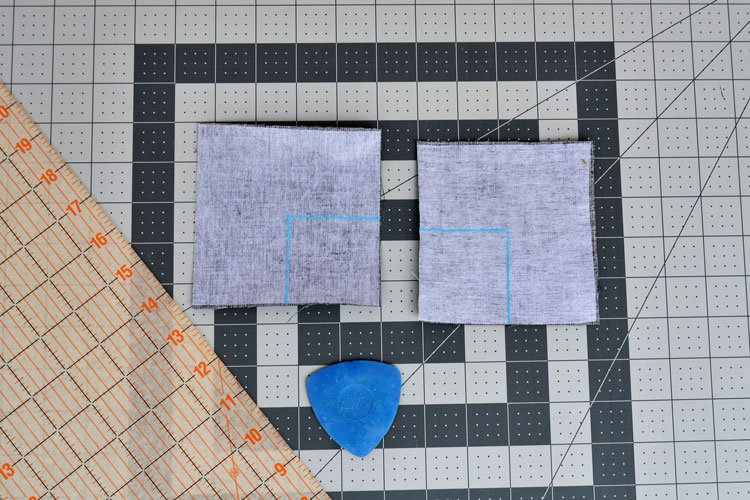
Sew along the chalk line with white thread. This stitching will be visible on the front of the pillow, so be extra careful to make it straight.
Refer to your printed Minecraft Creeper image and pin together each square of the pillow. Sew all of the squares together using a 1/4″ seam then iron the front panel.
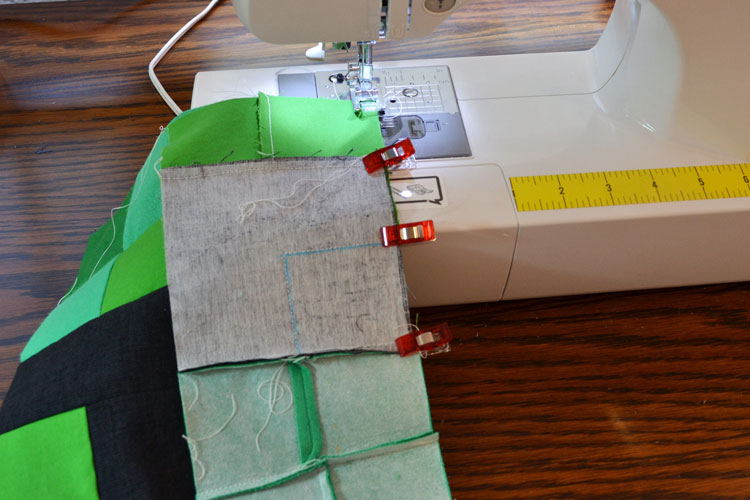
The final dimensions of the front are 16 1/2″ x 16 1/2″.
Pillow Back
The envelope closure of the pillow creates an overlap of 6″. I love this simple closure instead of sewing a zipper.
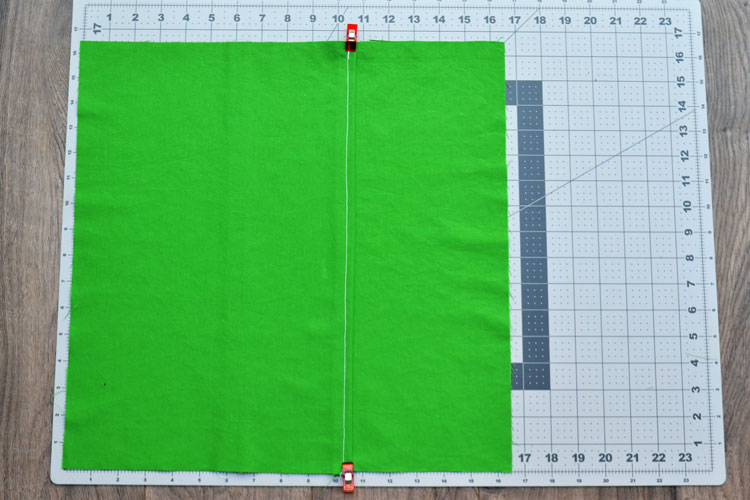
Grab the two back pieces of Kelly Green that both measure 16 1/2″ x 12 1/4″. Take the short side of one back panel and fold it under by 1/2″ and press with an iron. Next, fold it again by another 1/2″ and press a second time. After it is folded twice, pin the length down.
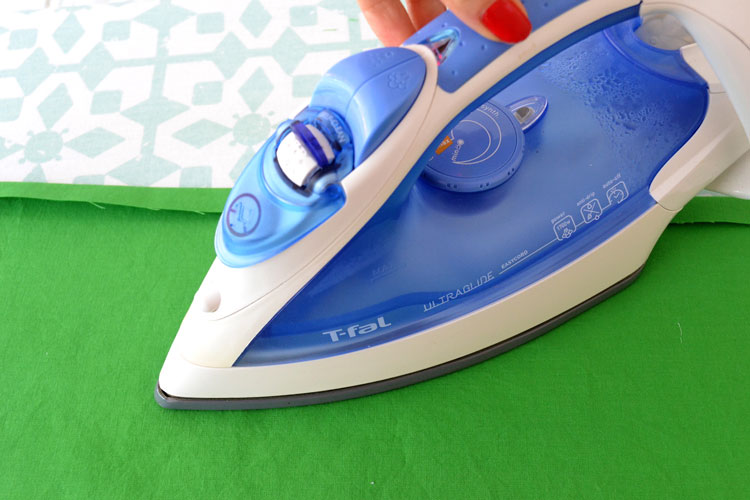
Do the same exact thing with the second back Kelly Green panel. You will have two panels that measure 16 1/2″ x 11 1/4″. Sew the folded edges with a 1/4″ top stitch.
Layer the two back panels so they overlap by 6″, then pin together and then iron. The final dimensions of the back are 16 1/2″ x 16 1/2″ to match the front quilted panel.
Assemble the Pillow
Match the right sides of both the front and back panels and pin together. You can either serge or sew the two panels together with a 1/4″ seam. Sew the entire way around the pillow! However, before turning it right side out, clip the corners of the pillow of excess material. You will turn the pillow right side out by pulling the fabric through the opening of the envelope closure. Use a dull tool to fully turn the corners completely out. Iron the pillow once again.
Insert your 18″ x 18″ pillow form using the envelope closure. Fold the envelope back over the form.
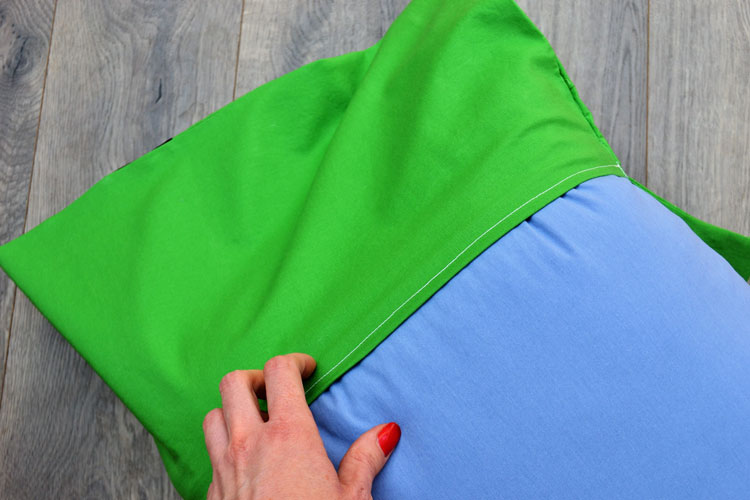
Your envelope closure will keep the pillow inside. No zipper needed!
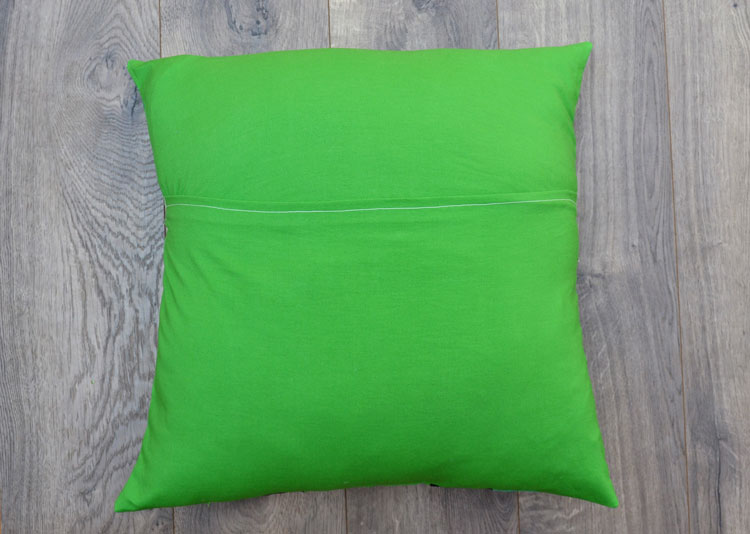
Voila!
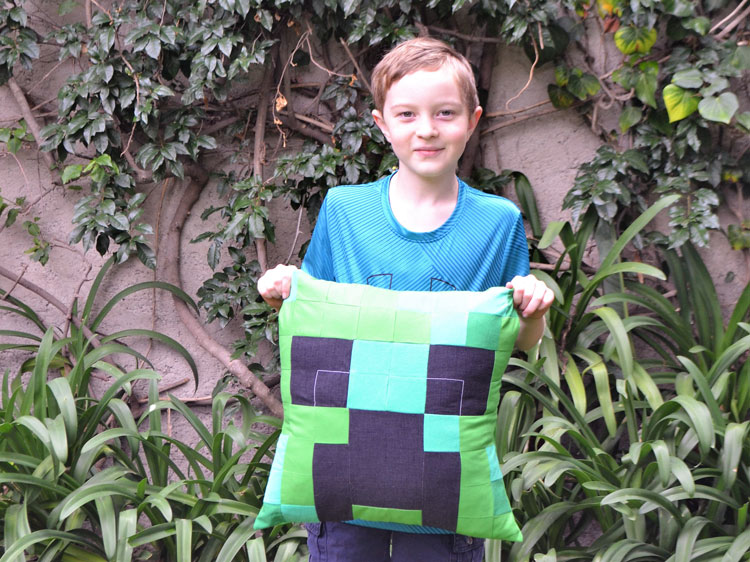
Watch your Minecraft fan’s eyes light up when you give him this awesome Creeper pillow. All of the characters in the game are pixelated and I’m excited to create another pillow for his bed, because it’s really quite easy. Of course my 4 year old wants one now, too! It’s hard to believe a character pillow can be created out of simple quilting blocks.
Do you know a Minecraft gamer? Time to grab all of your green fabric and get sewing on this Creeper pillow. Do you have another favorite from Minecraft? Let us know in the comments below and we can possibly write up that free tutorial too!
