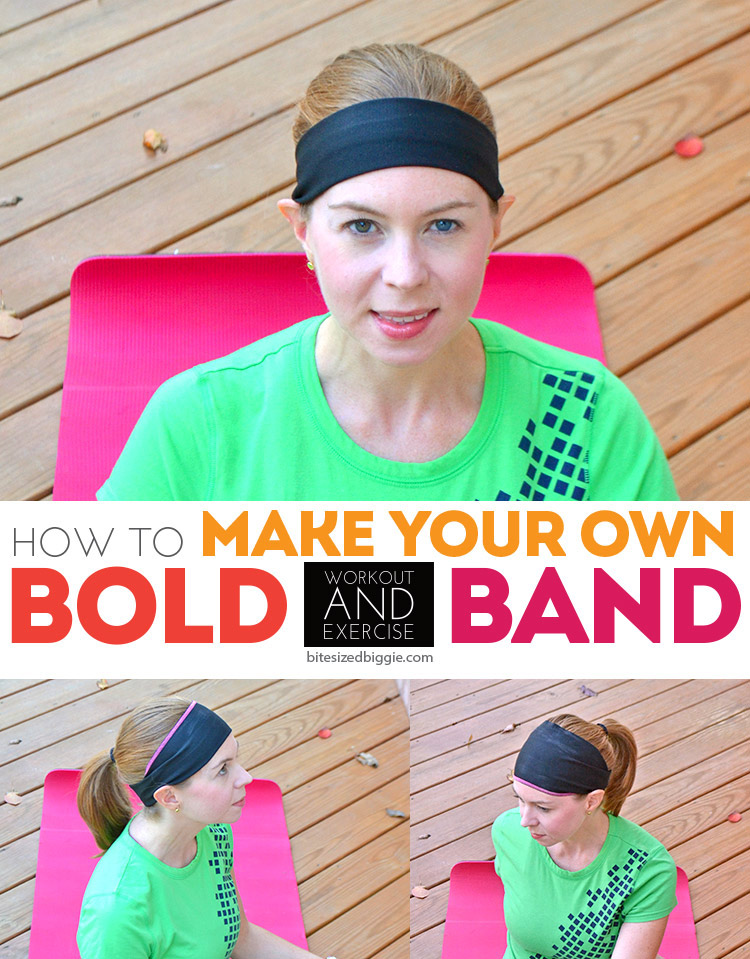
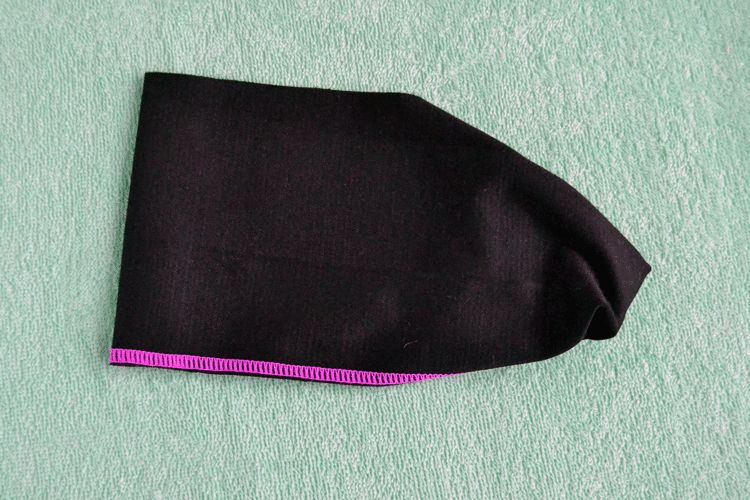
 The inspiration for this project came to me while I was at the gym, of all places. I found my adorable new leggings were constantly falling down. After several wears and trying out different types of exercise, I decided my discount purchase was a bust. They needed to be upcycled! Athletic wear with Spandex is ideal for upcycling into headbands. I already own a pricey headband that fits great, so I designed a knock-off. I’m sharing how I made them so you can make them too!
Supplies:
- Pre-washed leggings
- Scissors
- Sewing machine
- Pins
- Measuring tape
Step 1
Measure your head. If you head is between 20″-21.5″ (average) then you should make your finished headband 19.5″. More then 21.5″ it should measure 20″ and less then 20″ should measure 19″. This is a rough guide and your headband size will also depend upon your fabric’s elasticity.
Step 2
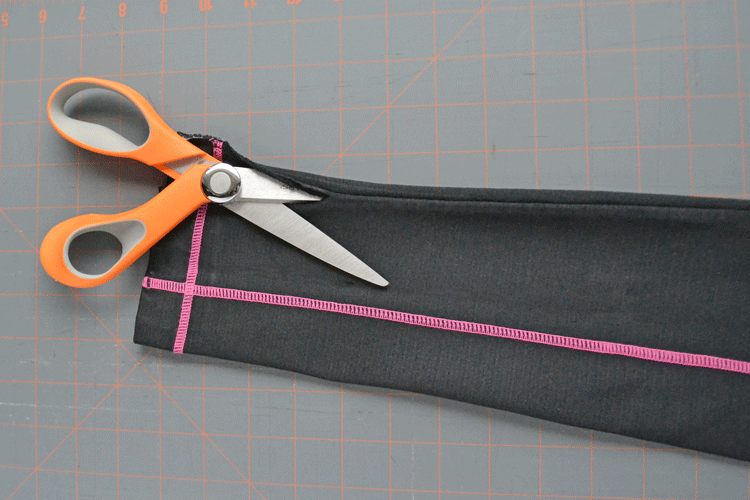
Cut along the seam of your leggings.
Step 3
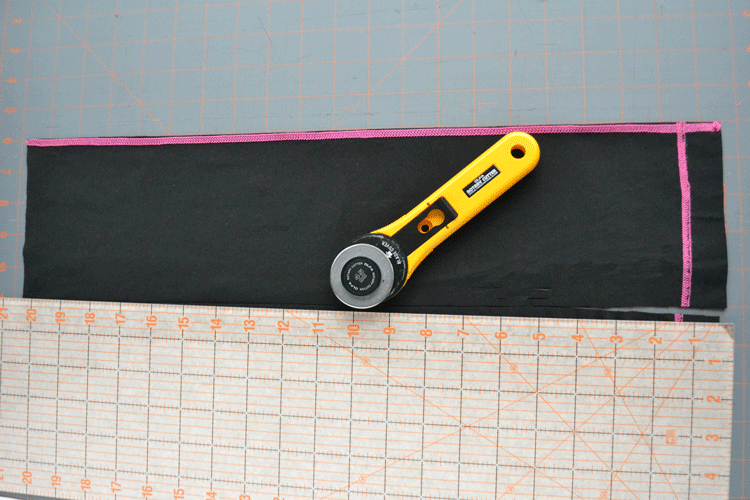
Cut your fabric to 5″ x 20″ or adjust size as indicated in Step 1.
Step 4
Fold fabric in half and pin so it overlaps by 1/2″ .
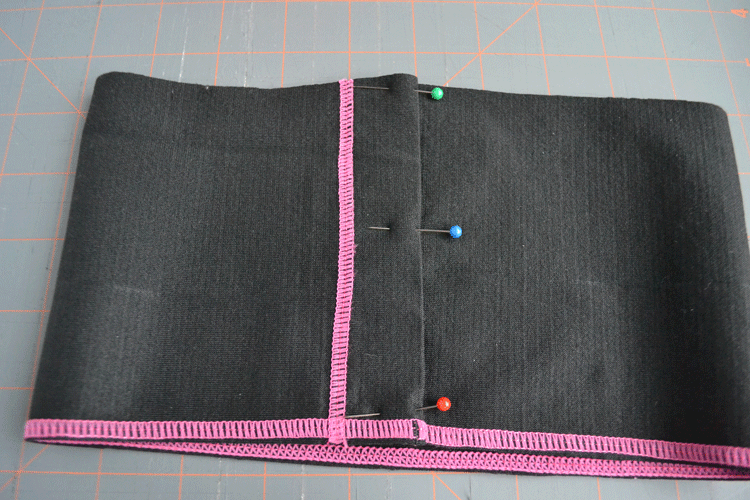
Step 5
Stitch together using a zigzag stitch (and a walking foot attachment if you have one) or using the “stretch stitch” that looks like a lightning bolt.
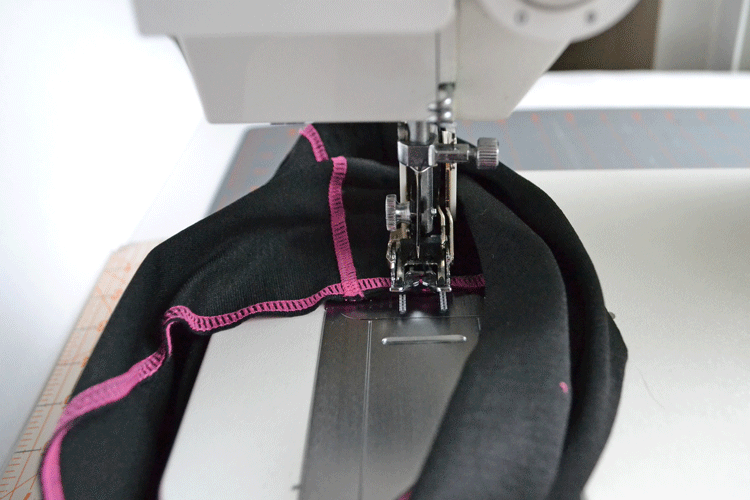
Step 6
Stitch the overlapping fabric down.
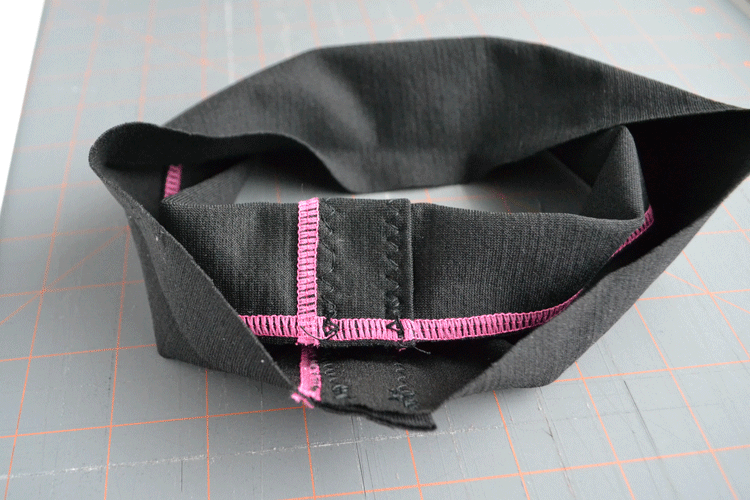
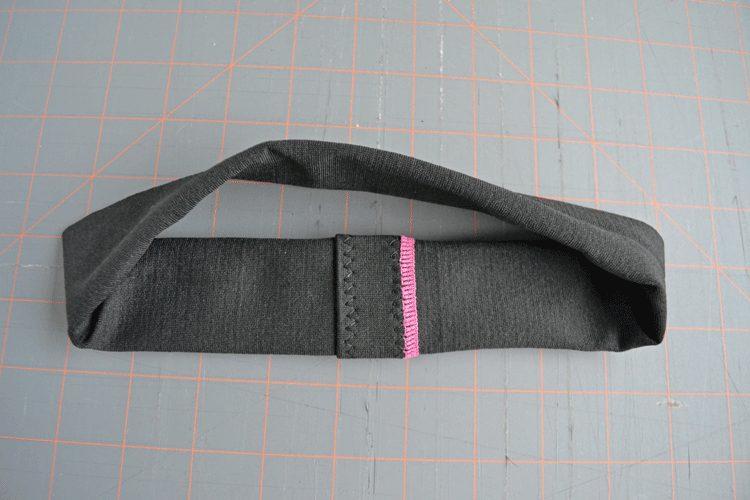
Step 7
Fold your headband into thirds, as shown below. Here’s one side folded down.
Here’s the bottom third folded.
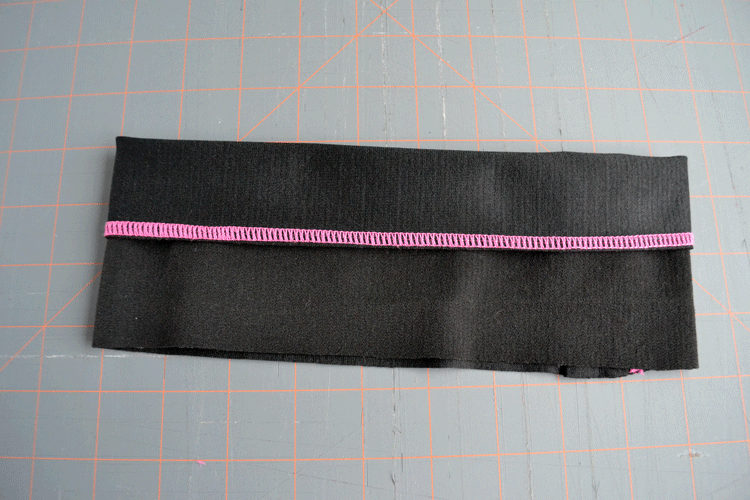
Step 8
Stitch the folds together on either side of your existing seams.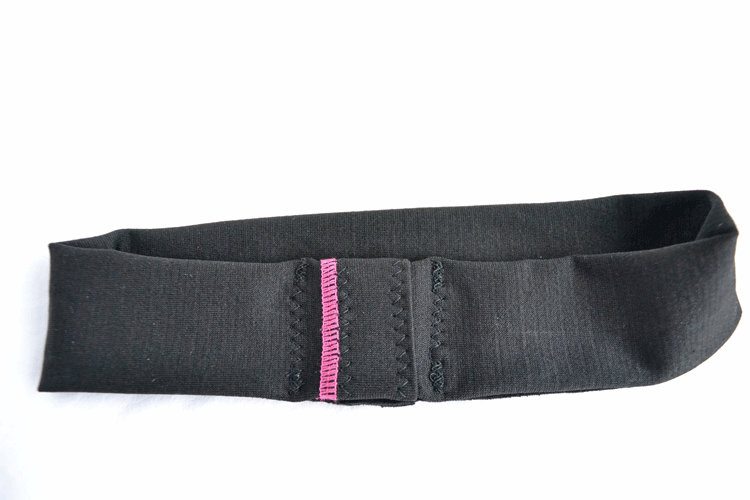
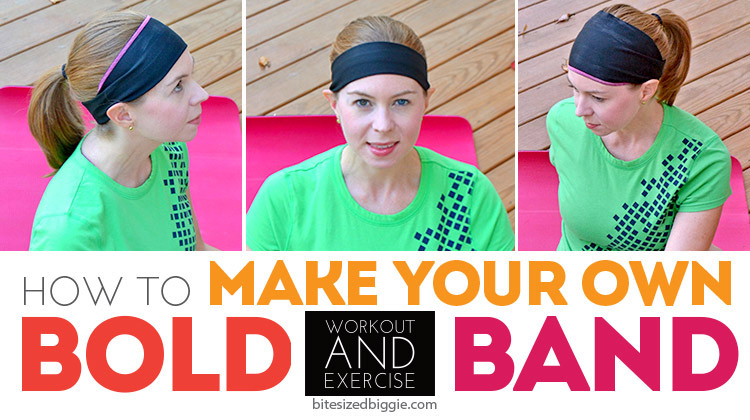
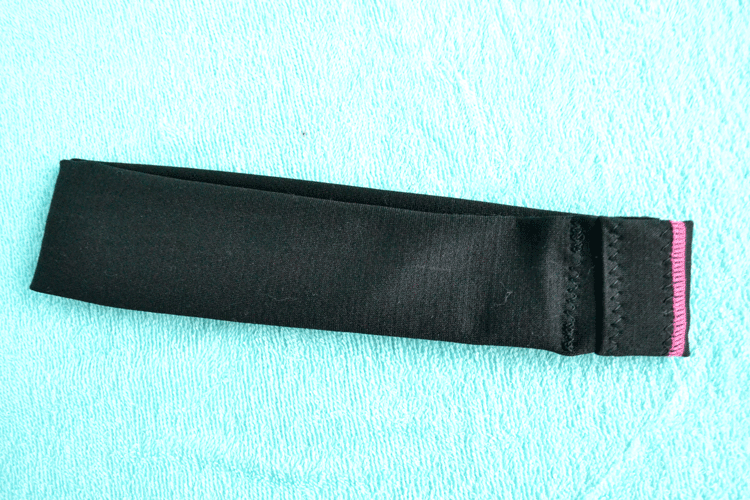
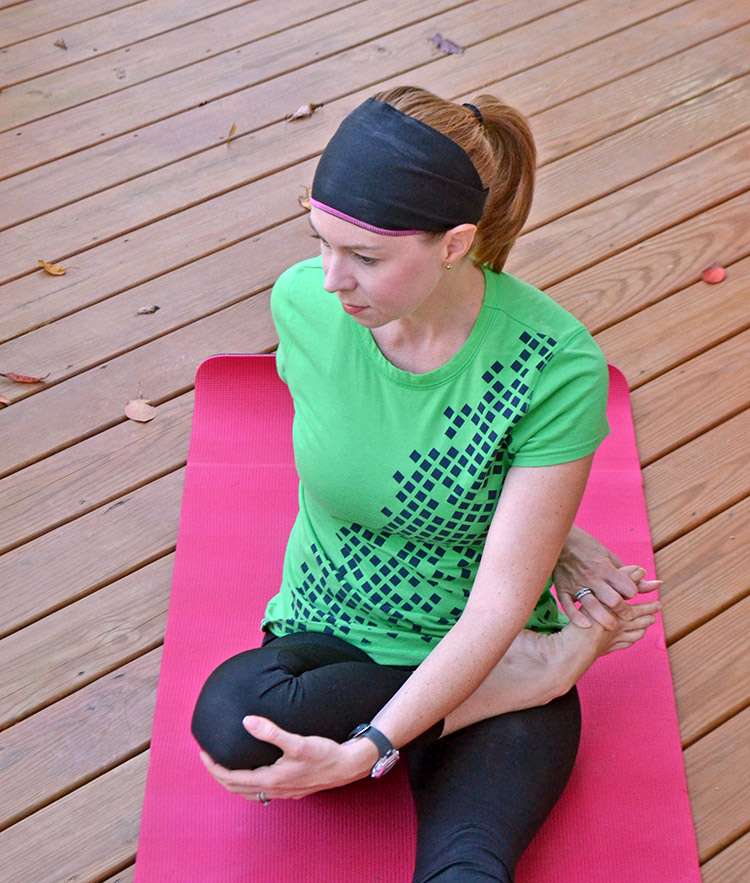
That’s it! So simple and versatile. Now you can wear it in the different widths. Here’s a thin headband.

One third folded in.
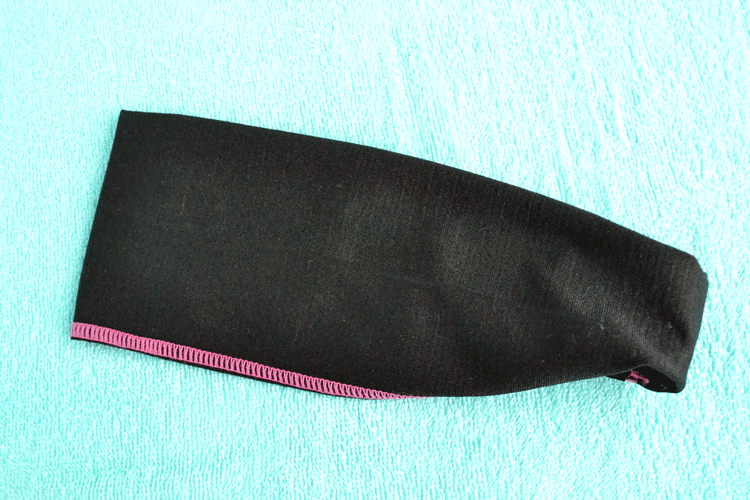
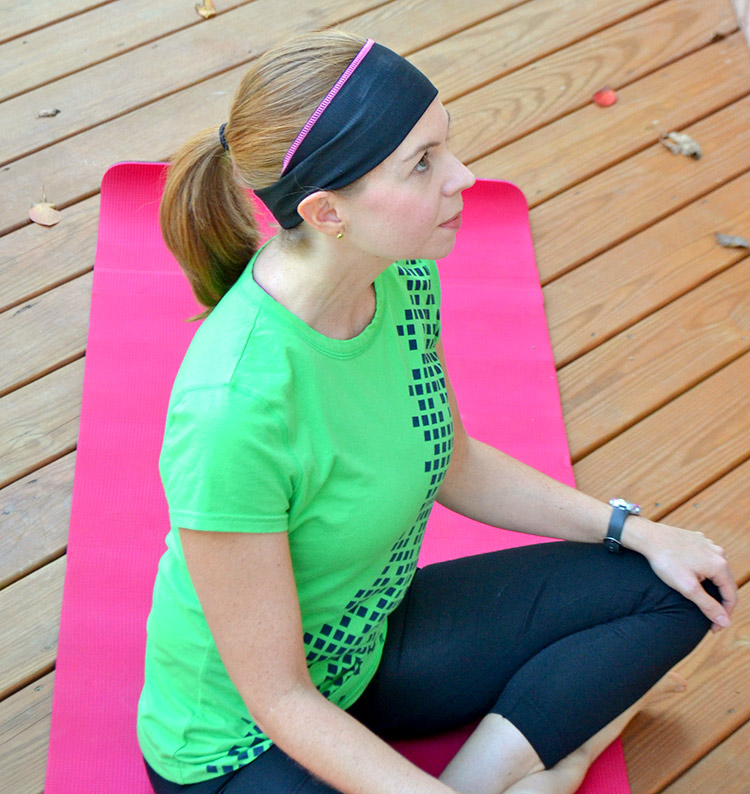
My favorite is the fat 5″ headband. TIP: To keep the headband from moving around at any size, make sure the front rests on your forehead instead of your hair.
I love this bite sized biggie– now go whip up a few and join me for some yoga on my deck! (And pin this one for later!)